Under their VelocityOne brand, Turtle Beach continues to release flight simulator peripherals for both PC and Xbox. One of their most recent products is a joystick they call the, “Flightstick.” It’s advertised for air, combat, and space simulators. I’ve been using this stick exclusively for the past couple of months and I want to share my thoughts on what you should know before buying.
When doing hardware reviews, I try to include some background on where I’m forming my opinion from. The VelocityOne Flightstick is the fourth joystick to enter my personal collection. In the course of time, attending trade shows, and flying friends’ setups, I’ve tried around 10 different joystick models. As simple as they are, each one offers a different user experience. It’s important to note that my experiences in this review are based on a desktop use case.
The Attributes
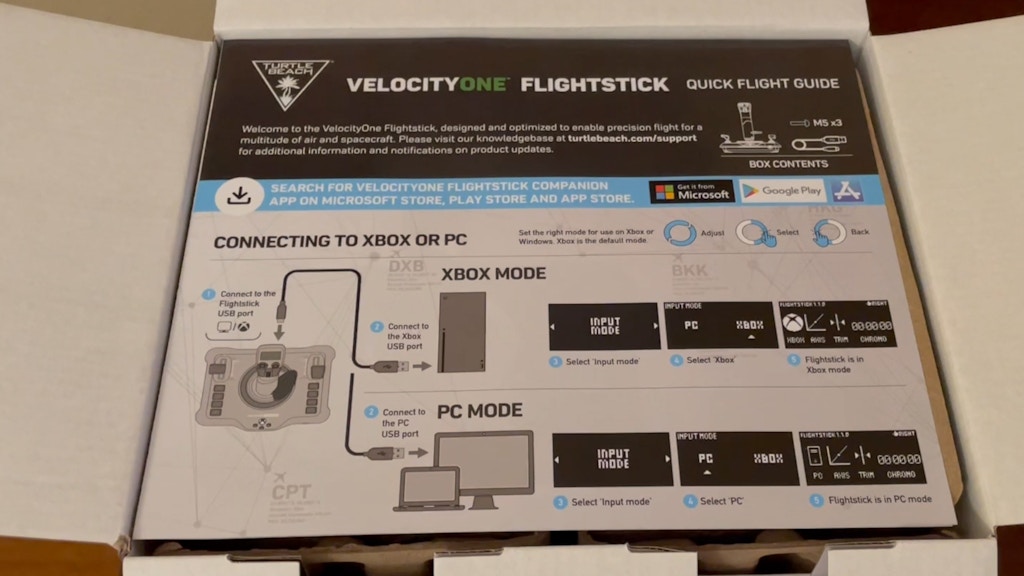
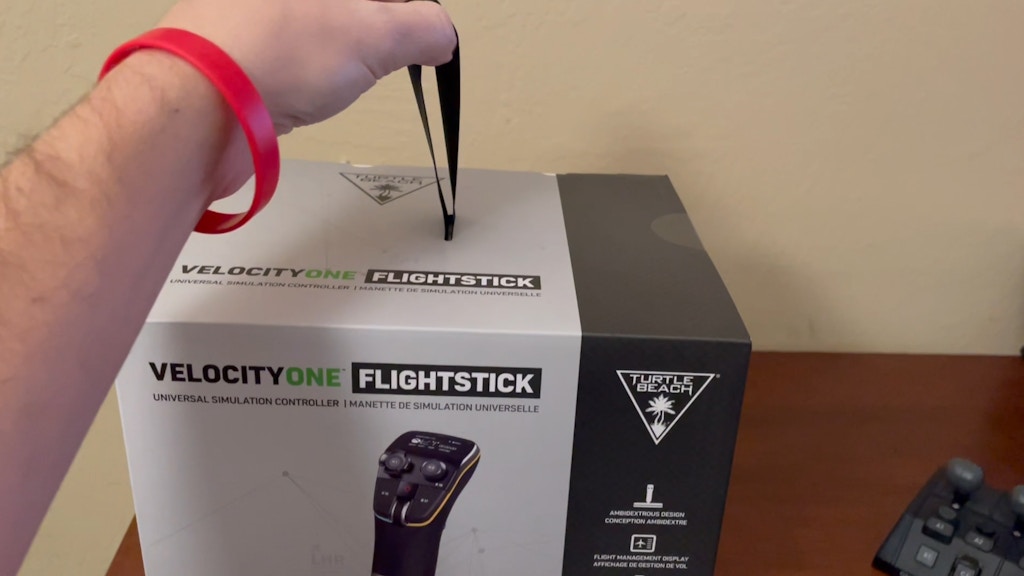
The packaging for the Flightstick is efficient, and very easy to unbox. You even get a little handle on the top of the box, in case you need to carry it around. The contents of the box include a detailed map around the stick, with mapping suggestions, and how to get started. The stick comes pre-assembled, with only a USB-C cable to attach. They also provide a set of M5 screws, and good thing they did! More on that later…
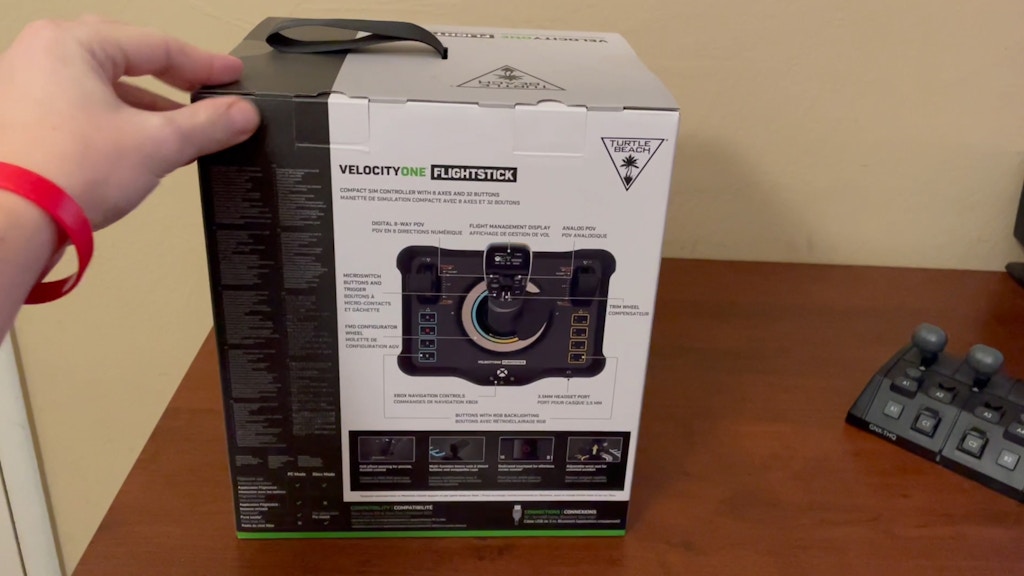
To get a sense of scale, this joystick measures 9.2 in high (233 mm) from base to stick, 8.5 in (216 mm) wide base, 5.75 in (146 mm) in depth, and weighs 1.8 lbs (0.823 kg). Internally, HallEffect sensors are being used to control the axis. HallEffect are pretty standard these days in controllers. They work by detecting voltage inputs across a magnetic field. Though it’s not clearly stated on the box, or in their marketing, this stick appears to be using 16 bit HallEffect sensors. I came to this conclusion when trying some of the built in calibration. This means your field of movement is -32,767 counts per revolution.
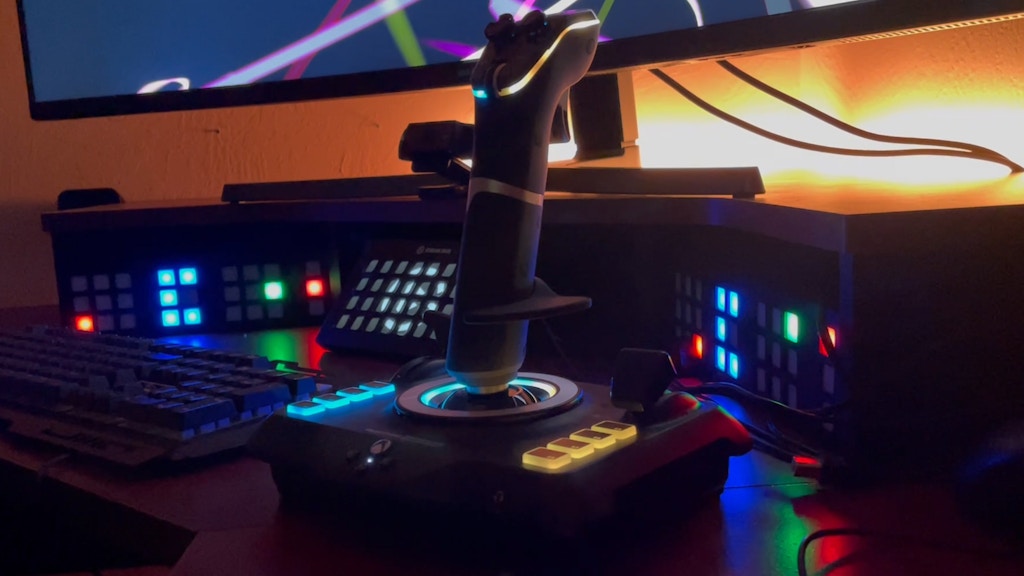
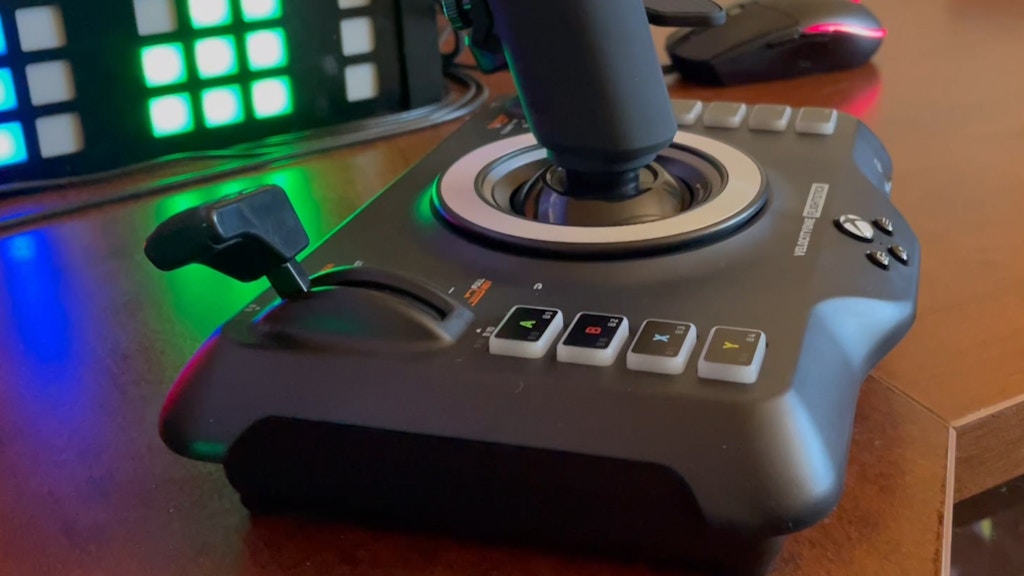
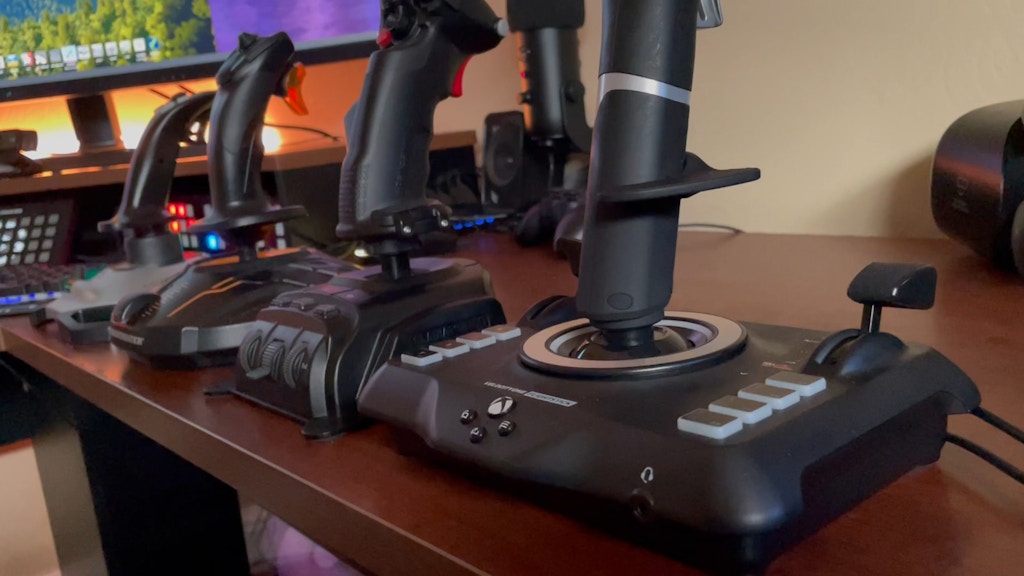
On both sides of the base, we have an axis lever with removable rubber handles. These handles can be swapped side to side. Neither lever track has detents as you move down the track, but there is a button detent at both ends. Below these levers, are four additional buttons you can program. All in all, a total of 12 programmable buttons on the base.
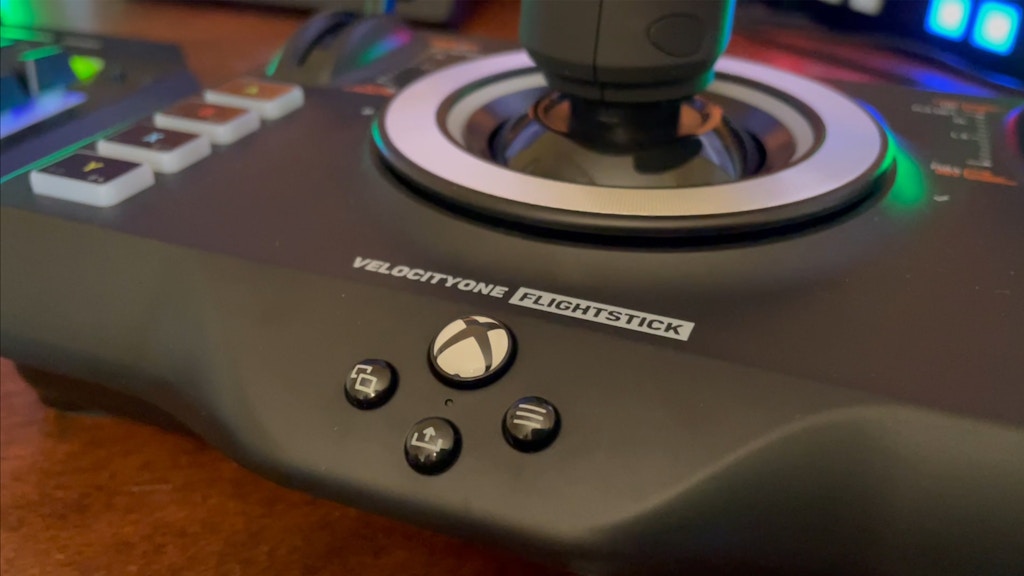
On the middle of the stick base, there are three menu buttons, and a 3.5mm headphone jack. You can also tether your other Turtlebeach hardware to the base if needed, with two additional USB-C ports on the back. No other USB ports are present to power other peripherals.
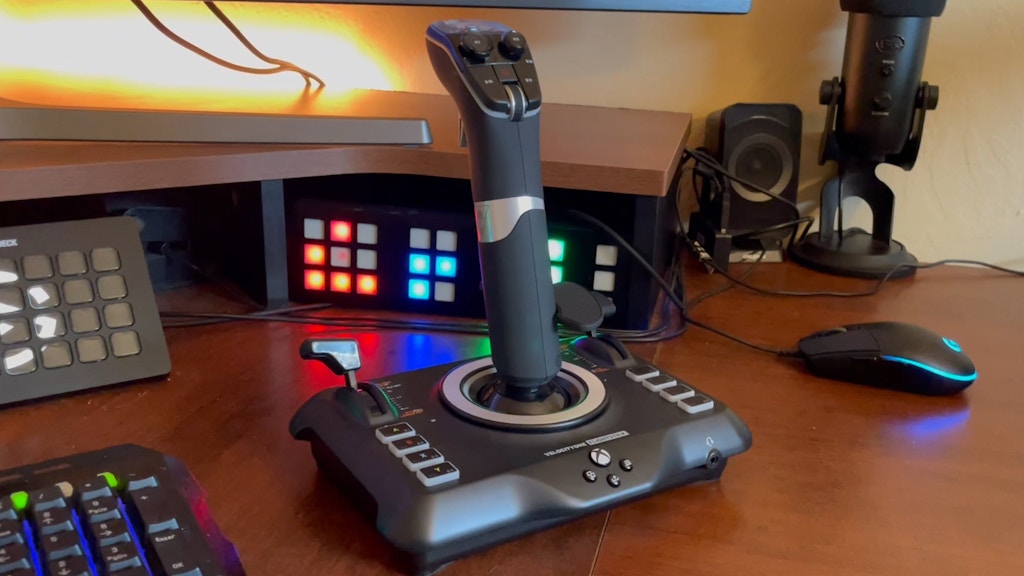
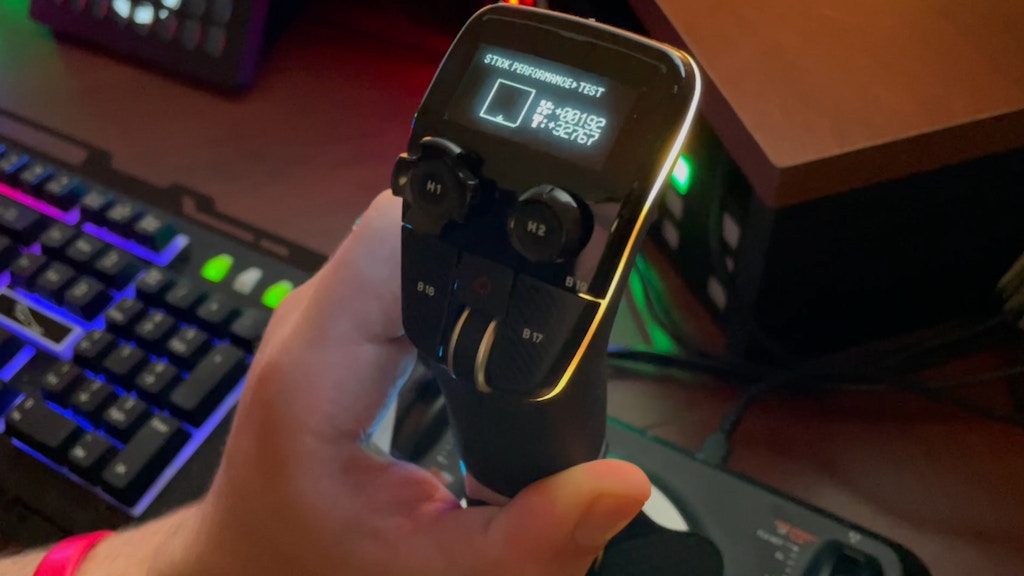
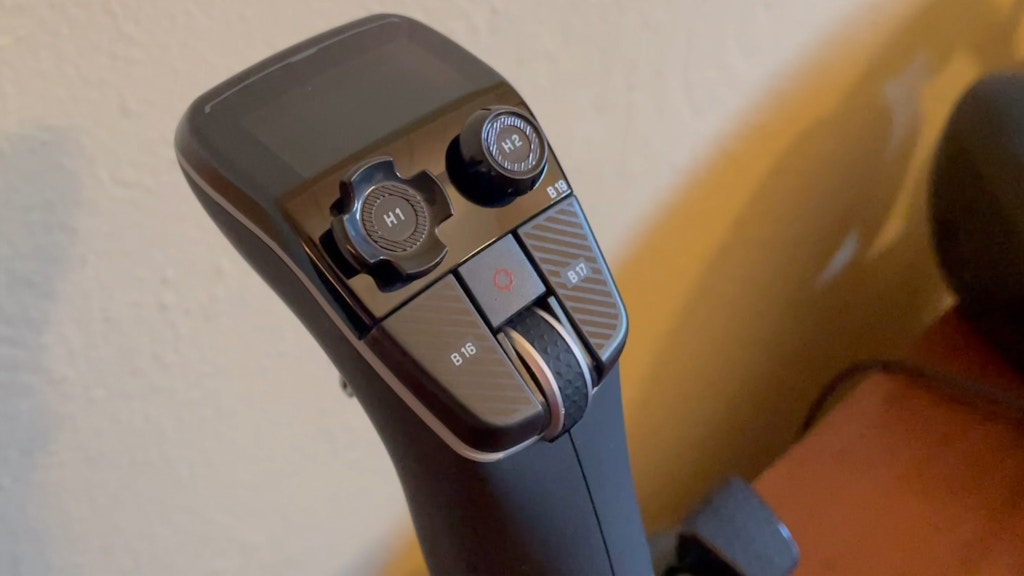
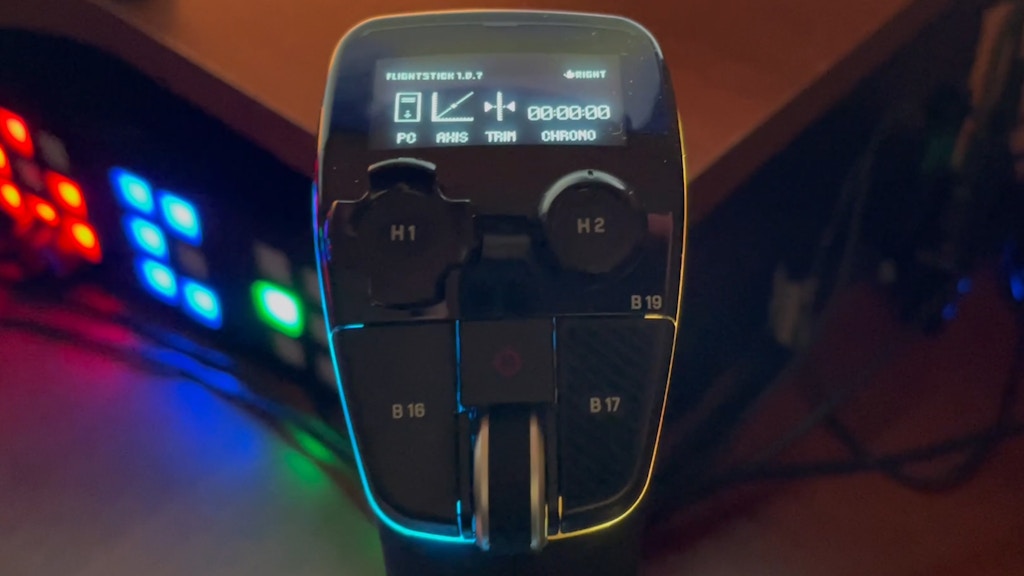
Moving up to the stick, we have the X, Y and twist axes, a single button trigger, 8-way POV Hat switch, push-able analog stick, two flat buttons, and a push-able scroll wheel. This can be used for trimming your aircraft or scrolling menus. Above the wheel is a small, single click touchpad. This works like the touch pads found on laptops. It’s one of those features I never considered adding to a stick, but it can be useful in virtual reality, or if you can’t reach a mouse during flight. The pad is no bigger than the tip of your index finger, which is not a lot of room to work with. It can be kind of jumpy, but you can tune it to be more or less responsive.
Flight Management Screen
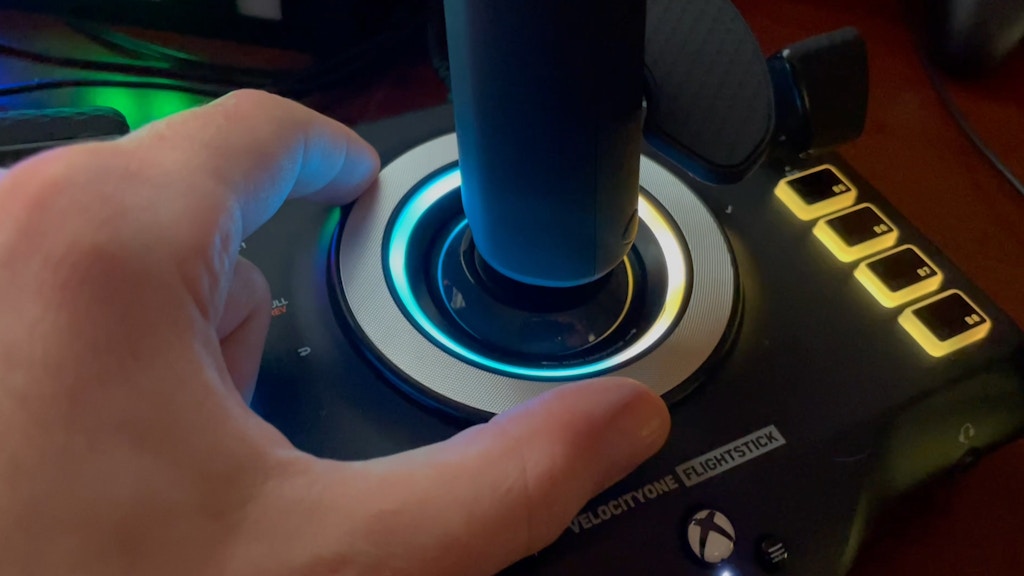
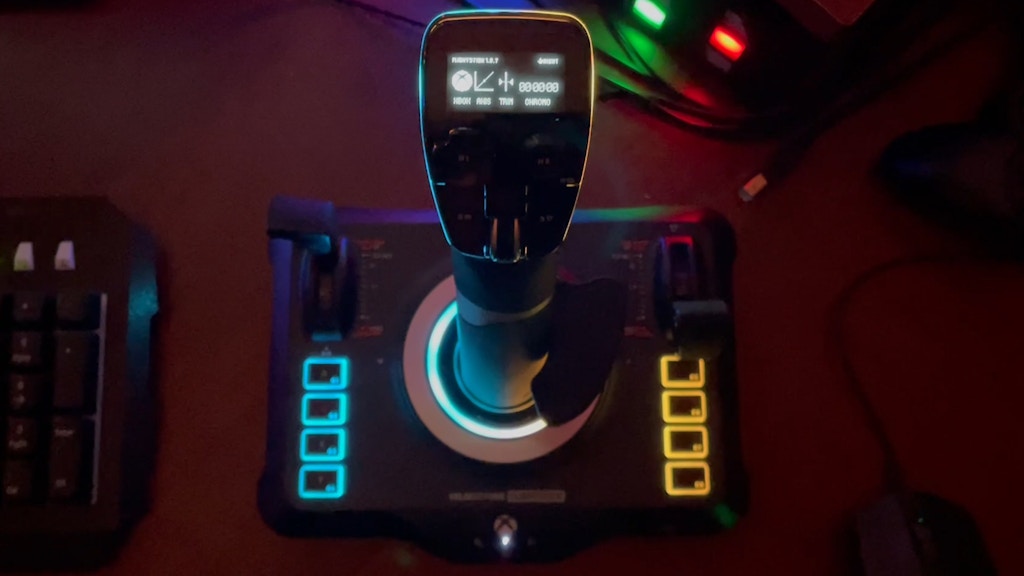
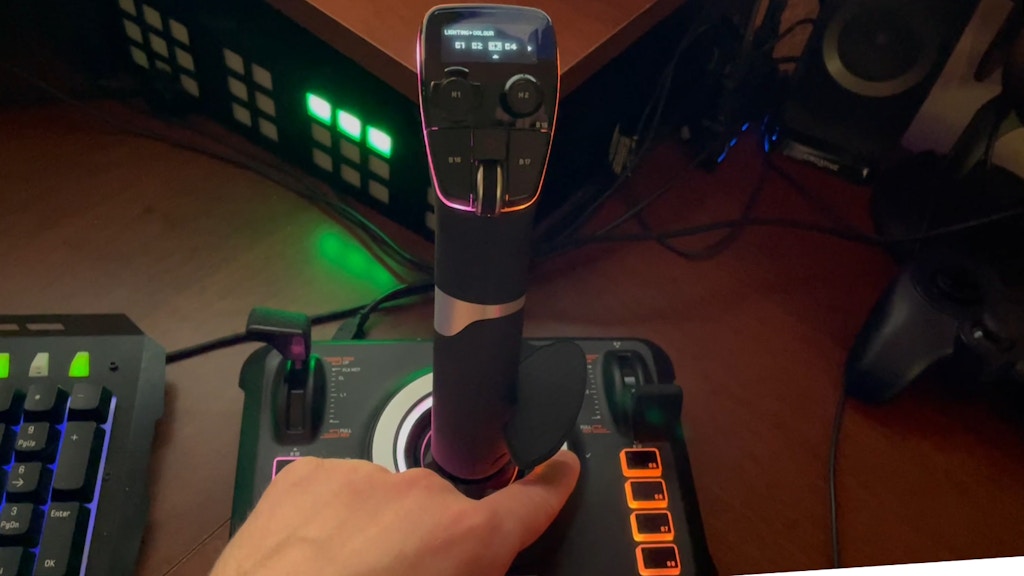
For this next section, I want to cover what Turtlebeach calls the Flight Management Screen. This screen and its many facets, are navigated by clicking and turning the silver ring in the center of the base. I thought this was a very interesting way to design it. The ring is out of the way, and left room for the layout they ultimately went with. The ring click feels similar to a mouse. Turning the ring presents the 10 different pages I’m going to describe. Right click selects and left goes back. Turning the ring scrolls through the options within these pages. The left and right click also have another purpose, if used from the flight management home screen. Right click starts and stops the chrono timer and left click sets it back to zero.
Input Mode
The first option in the rolodex is the Input page. This allows you to set the stick for either Xbox or PC. My stick was set to Xbox upon arrival. The simulators will not recognize the stick properly if this is not on the correct setting. Your current input will always be displayed on the left of the flight management screen.
Stick Performance
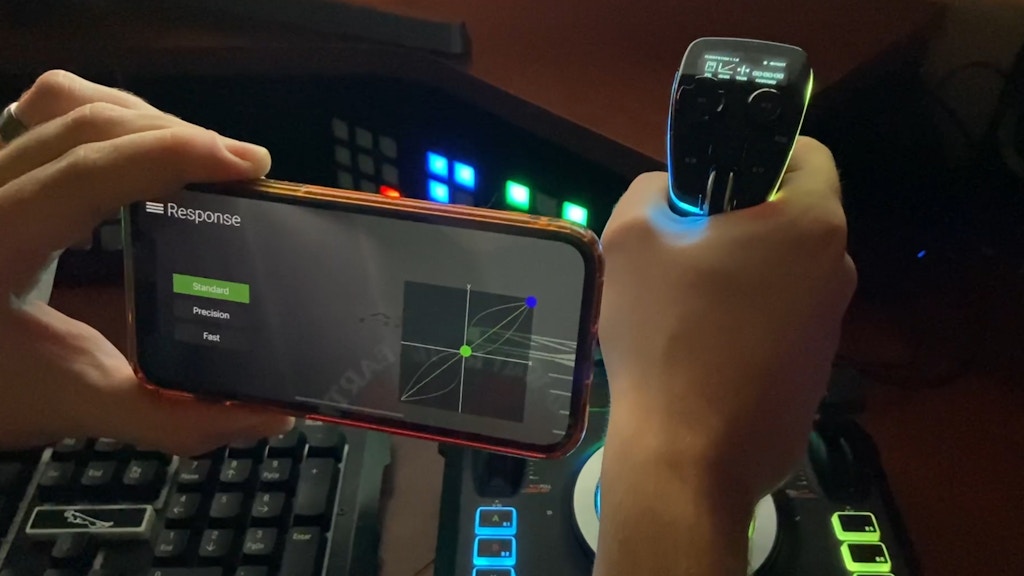
This page offers performance settings. There is a test page, where you can see the 32bit HallEffect sensors move across the plane on the X and Y axes. It also offers a page with standard, precision, and fast profiles. Switching back to the test page allows you to feel and see the difference between each of these. The fast profile is snappy. The slightest movement uses multiples of -03564 on the axis. Precision mode was exactly that, it allows you to have much finer movements. With the same pressure I used on the fast profile, I was able to achieve -00001 on the test plane while in precision mode. From there, it’s very easy to move it up to -00002 and on. I did the same test on the standard profile and the lowest number I could pick up was multiples of -000129.
Audio
From this page you can adjust the audio, and microphone, with several EQ modes. This will probably be more useful to the Xbox user. Using this to adjust audio as a desktop PC user seems more cumbersome. Much like the touchpad mentioned earlier, if one was using this in a home cockpit environment, it could be useful if you cannot easily access your desktop audio settings.
Trim Wheel
The fourth page offers two trim wheel settings. One is a trim position indicator and the other provides an option of an analog axis or digital button setups.
Rudder Lock
This is so you can turn rudder lock on or off. Locking the aircraft rudder in place so you can use the twist axis as a nose wheel tiller.
Pro Aim
Pro Aim offers a chance for you to reduce the sticks sensitivity when you hold an assigned button. A use example would be, let’s say you’re approaching the boom of an airtanker. When you’re in those final moments, a button can be held to temporarily change the sensitivity so you can make tiny adjustments even easier as you approach the basket.
Orientation
This lets you set the logic as a left or right handed grip. You can always see which orientation is currently selected by the indicator on the top right of the flight management screen.
Touchpad Sensitivity
This lets you control how sensitive the mouse touchpad is. There are ten notches in total to control how fast or slow the mouse will move. The stick comes with this setting in the middle. Setting to high greatly helps in moving it across the screen faster.
Color
This mode allows you to adjust the lights on the stick, or choose between different color profiles: Blue+yellow, blue+green, pink+orange, solid yellow, blue, or white. You can also control the brightness of these lights. It can take a second or two before the change will appear. There is one more page, allowing you to adjust the LED screen brightness.
Bluetooth
When I first saw this option, I was hoping this would serve as an adapter, allowing me to pair my Bluetooth headphones. Rather, this allows you to pair a Bluetooth device like your phone or tablet with the flight stick. It has two pages, one for the pairing, and the other is a status screen of the connection. The mobile application lets you adjust the color, and view some of the calibration features. Overall this isn’t that useful beyond, “Hey that’s pretty cool…” But I did enjoy this user interface compared to the ring method.
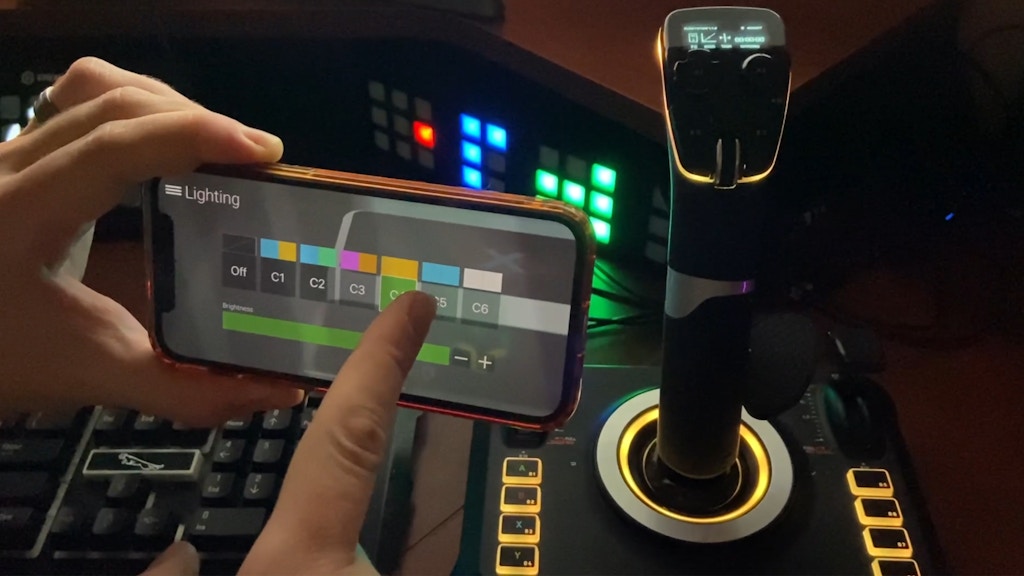
TurtleBeach FlightStick Companion Application
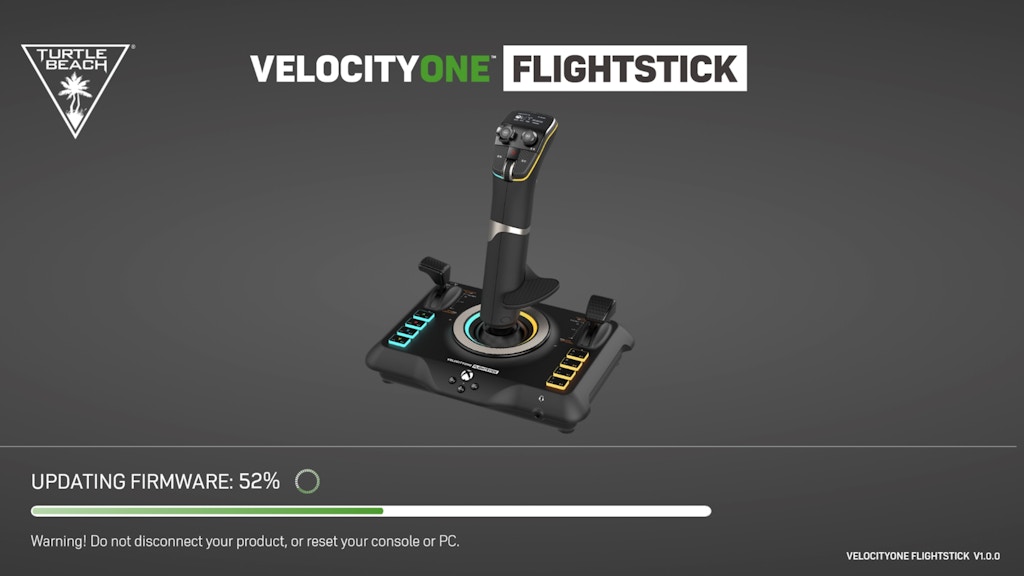
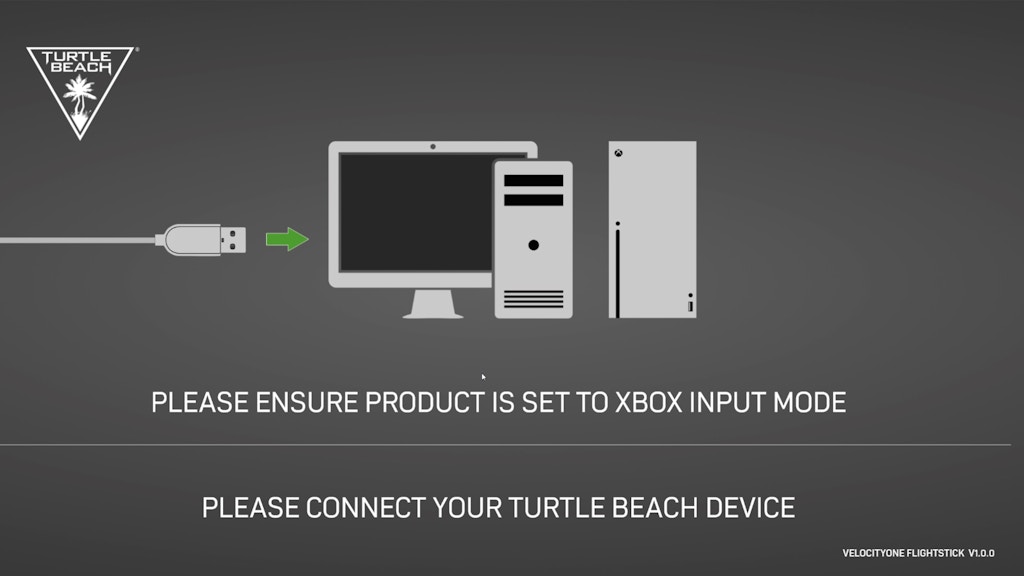
The companion application is the only way to update the firmware for the joystick. The current version is 1.1.6. My Flightstick arrived with firmware 1.0.7 installed. To update you will need to download and install the application. Set the Flightstick input to Xbox, regardless if using PC or not, then you can run the firmware update. The update to 1.1.6 took about two minutes to complete. If using PC, switch the input back from Xbox.
Ergonomics
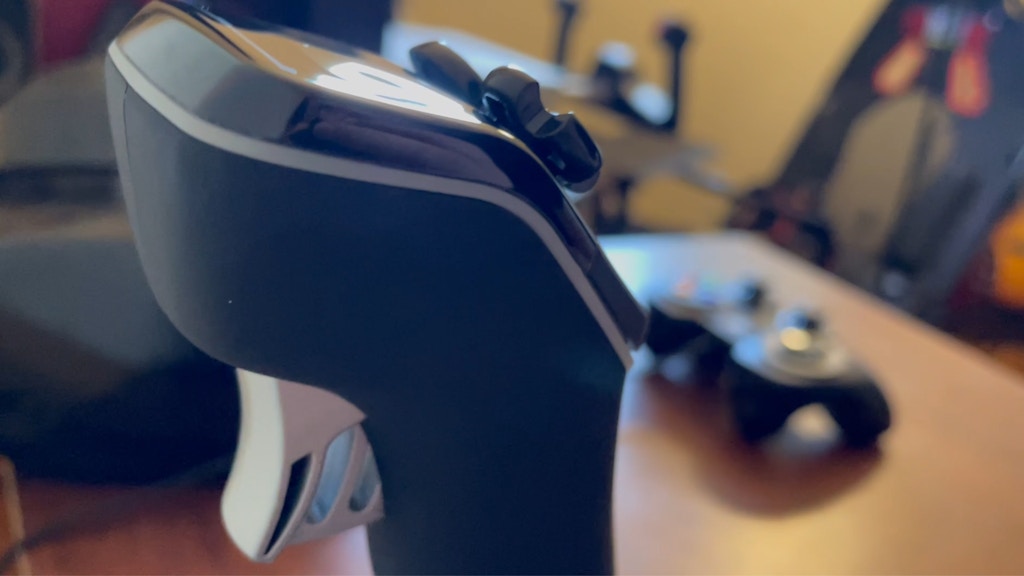
The Flightstick grip works as both a left- and right-handed grip. The hand rest unscrews and can be moved to either side. Through this same method, you can both lower and raise the wrest. I really like how they went about this. Most grips come either left or right. But this grip not only supports both, it welcomes a range of different hand sizes.
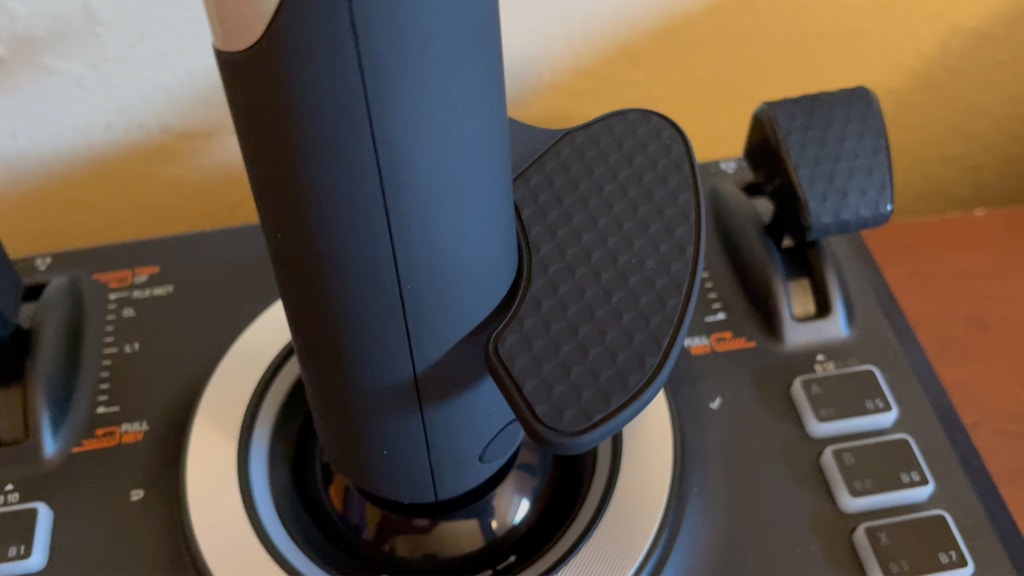
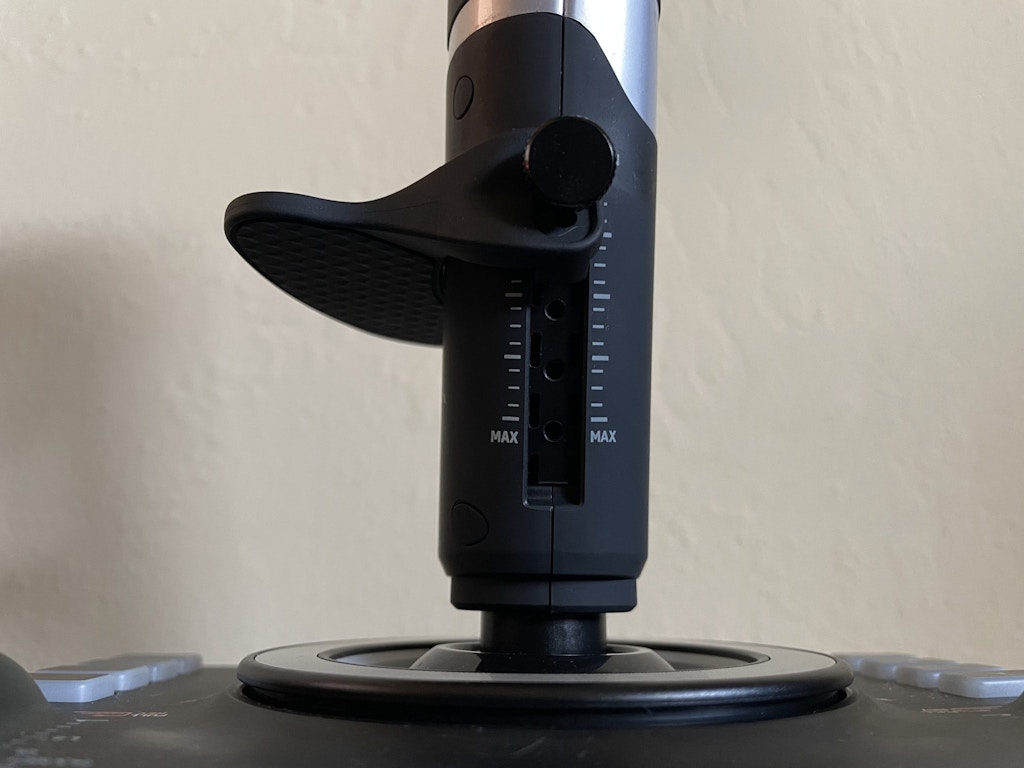
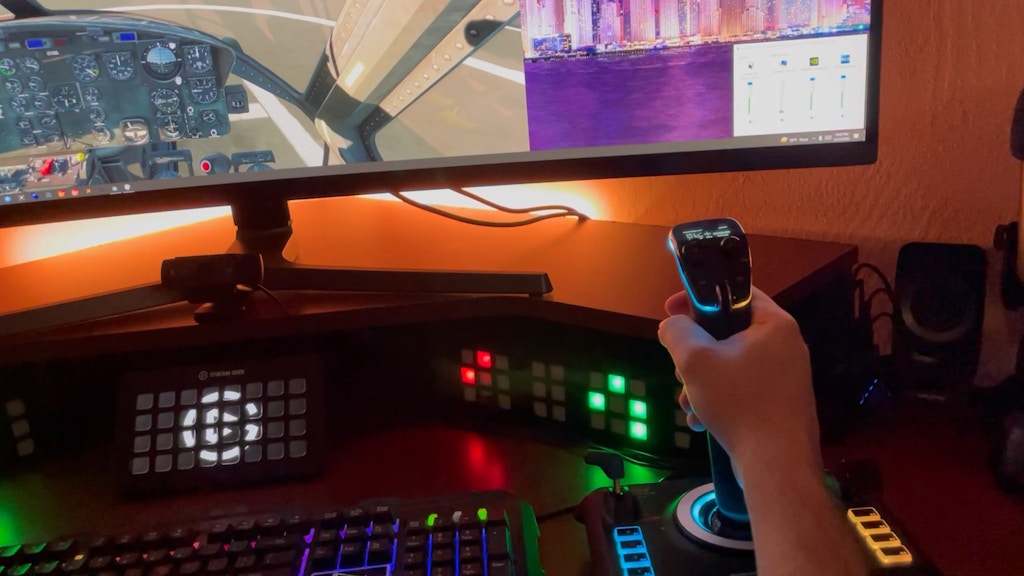
Now for the potentially bad news… The spring tension on this stick is the stiffest I ever recall using. Pair that with a light wide base, and you have yourself a stick that will challenge you to stay flat on the desk. An abnormal trait, as joysticks are usually not this stiff and/or the base is balanced in the directions you apply pressure. When flying the UH-1 Huey in some dicey situations, I had to rethink how I use a joystick. It’s not enough to move the stick with forward pressure, but you will need equal down pressure with the side of your palm.
You do have the option to mount the stick, as there are three M5 holes on the bottom of the base. Or you can hold the stick while you fly, which some prefer because it places the stick where it would actually be on most aircraft. But understand, it will need one of these options if you don’t want it to move. A frustrating flaw on an otherwise outstanding stick…
Getting Used To It…
Now as with anything, you get used to the spring tension. Because I’ve been using this stick for months now, I’ve grown accustomed to the new pressure needed to keep the stick flat on the desk. But it’s unnatural to apply this pressure along with forward and back. If you are coming from just about any other joystick, you’ll notice this right away. For those new to joysticks, well…you won’t know the difference. But I’m not aware of any real-world aircraft that requires this pressure combination. Again, this is eliminated by mounting or holding the Flightstick
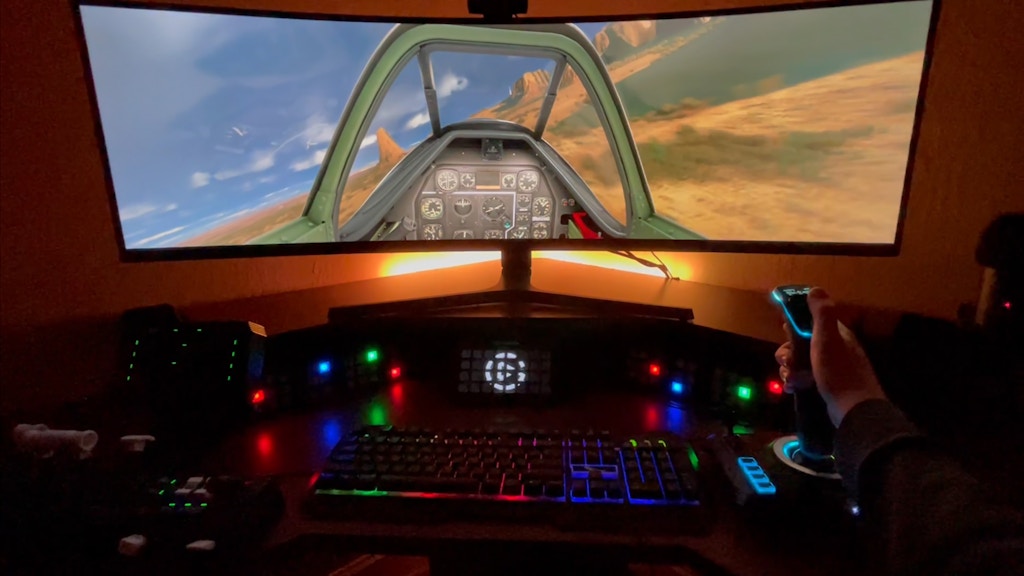
I consider myself an all around flight sim pilot. I enjoy the heavies, general aviation, helicopters, gliders and combat aircraft. I tested the Flightstick on a few aircraft in the Boeing and Airbus family. More importantly, I did a lot of hand flying with this stick in helicopters and some small props, sessions for about an hour or more. Despite the awkward pressure you need to apply, at no time did my hand fatigue or cramp. The grip is actually quite comfortable. The hand rest is wide and angled appropriately for comfort. If you don’t adjust the hand rest this might impact comfort, so make sure you find what feels best for you. I generally try to find a height that places my thumb centered with the hat switch.
The Flightstick advertises compatibility with Microsoft Flight Simulator, X-Plane 12, and Digital Combat Simulator World, which I tested on all three. There isn’t much to go into on the difference in “feel” between each sim; it’s all relative when you really get down into it. These are some of the things I liked or disliked while using the Flightstick across the three simulators.
Digital Combat Simulator World
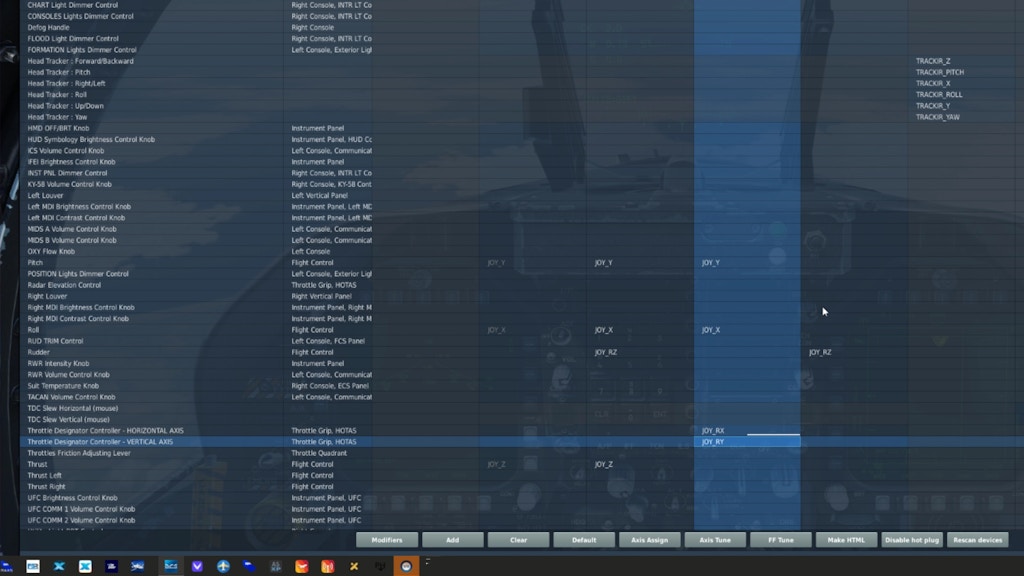
As always, DCS mostly got the mappings wrong. Twist axis mapped to thrust. Flaps/spoilers mapped as rudder. But that’s always been my hardware experience with DCS.
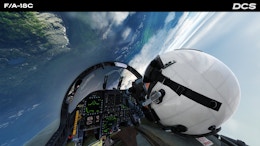
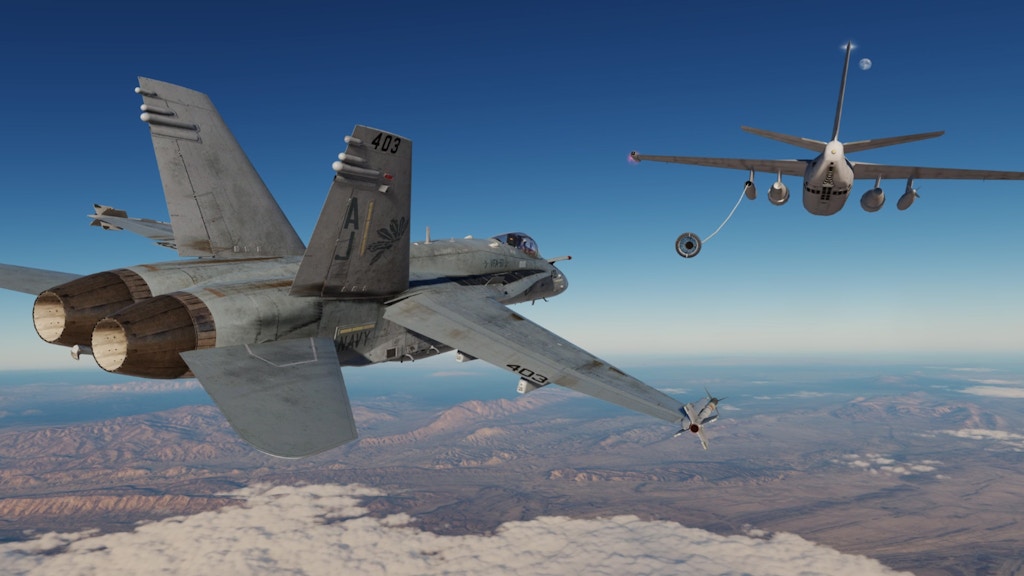
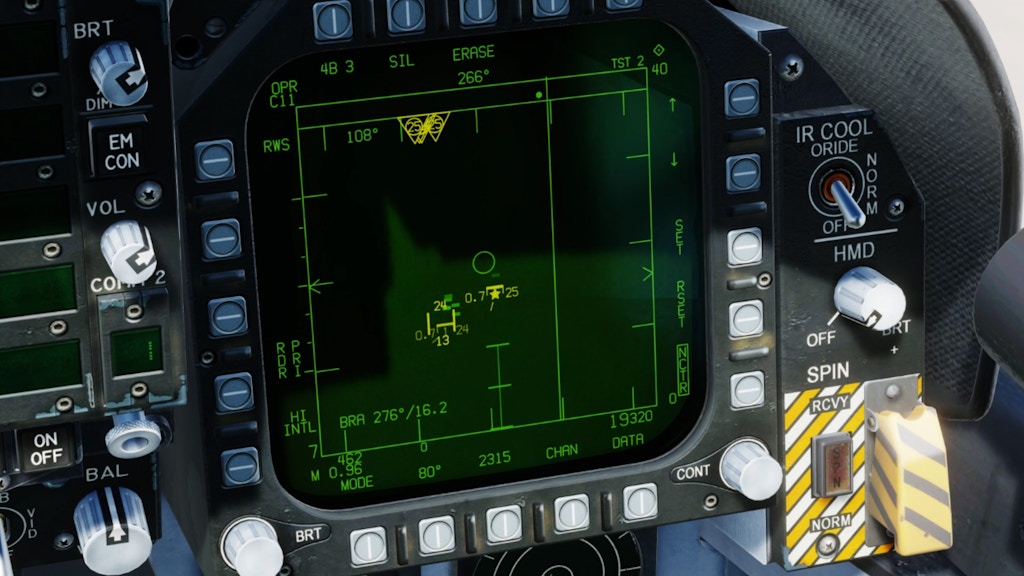
An important feature I use when flying the F/A-18 is the Throttle Designator Control (TDC). The TDC allows you to move a cursor across radar to select a target to lock onto. During a dogfight, you need to be quick and precise if you want to survive the conflict. This is the first joystick I have ever used with a mini-stick built in. This was awesome to use with the TDC! DCS allows you to map two axes to make this work. This mini-stick is also push-able, allowing you to map the TDC depress button to select your target.
Microsoft Flight Simulator
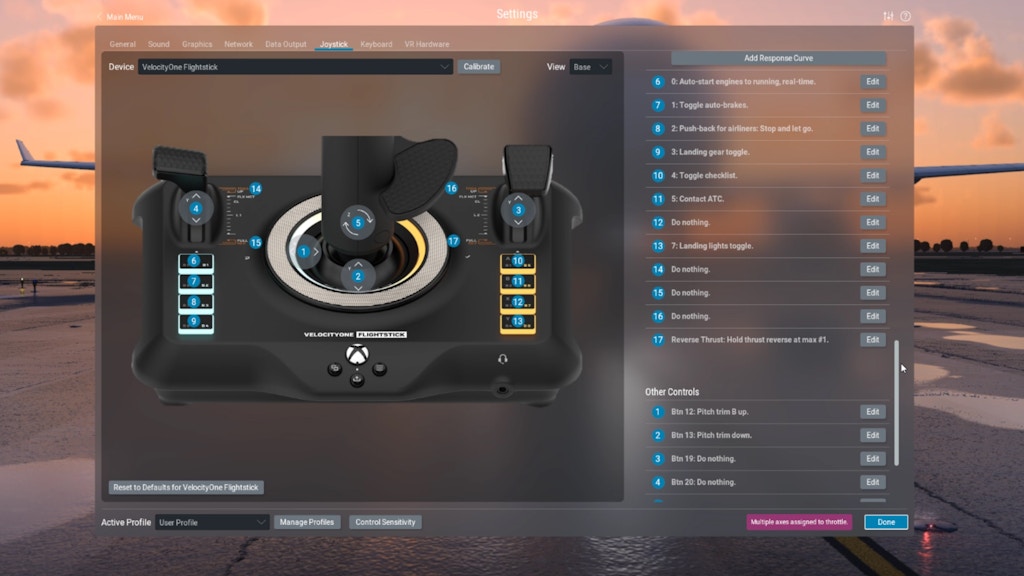
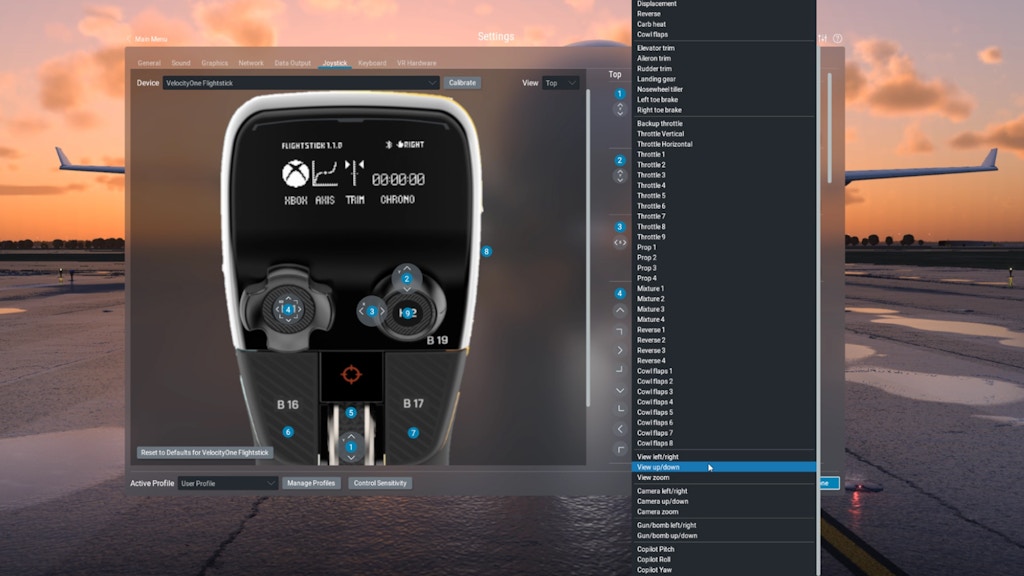
Microsoft Flight Simulator was a little more in line with a default control scheme that makes sense. I still had to remove some dual mappings. Again, having a mini-stick was my favorite feature. This time not for finding things to shoot down, but for the camera. This really lets you do some smooth panning. But oftentimes the camera would continue panning as I would let go. I would need to move it again to get this to stop.
X-Plane 12
The calibration and button setup page is beautifully presented in X-Plane 12. I always seem to have the best user interface experience on the Laminar Research platform. The native control profile for the Flightstick was nearly perfect. Make sure you do not have any dual mappings across other controls. Starting out, I had a few and it would not let me move any of the controls once I was in the aircraft. Clearing these repeated mappings solved the issue.
The mini stick axis is mappable for looking around the flightdeck too, but the experience was not nearly as smooth as Microsoft Flight Simulator. Controlling the camera movement with the mini-stick was jerky, but works in a pinch if you do need it.
Conclusion
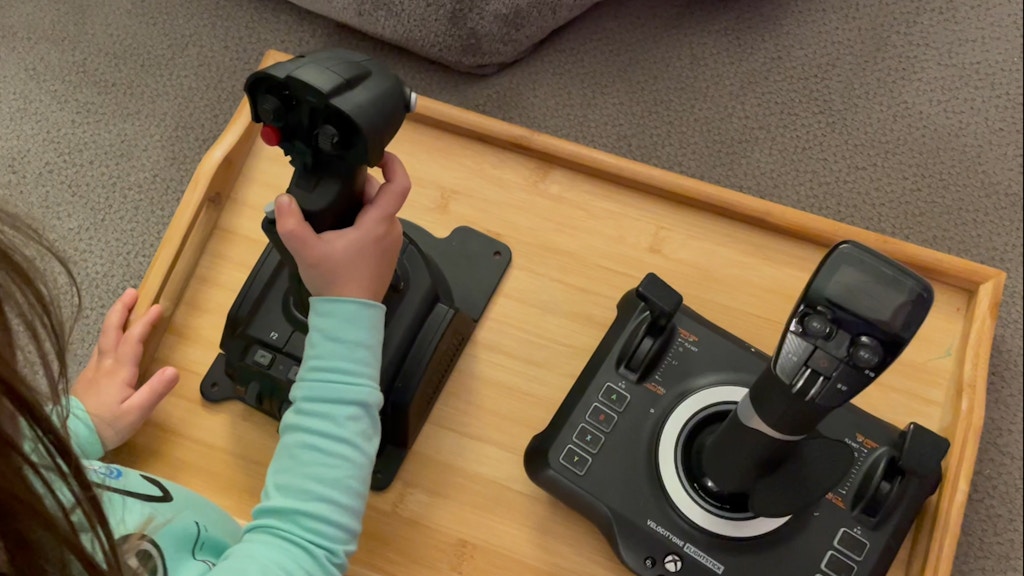
The retail price is currently $129. If you are buying this Flightstick for a child, I would consider one easier to move. I gave my toddler a blind test of the issue. She was able to easily move the Gladiator NXT, and T16000M sticks with one hand. As soon as she gets to the VelocityOne Flightstick, the struggle I’ve described becomes apparent instantly.
On PC you have softer spring options like the T16000M, the Thrustmaster Airbus line, VKB Gladiator sticks. All of these have a cushion like spring, and relatively the same price range, if not lower. The other option on Xbox is the T-Flight Hotas by Thrustmaster, although I have not tried this one yet.
The VelocityOne Flightstick brings new innovations to the joystick concept: features galore, adjustability to many hand sizes, and left/right grip adjustability. If you want a firm joystick and plan on mounting it, then this might be fine for you. For myself, I don’t like that I can’t place this joystick on my desk and use it under what I consider normal circumstances. But don’t get me wrong, when this stick is bolted in, or held, it’s nice! If you can get your hands on a demo of the VelocityOne Flightstick, I would definitely try it first to see if you like it.


