A flight simulator is basically a point-and-click game at times. We spend a lot of time in tubeliners pointing our mouse at something and clicking to adjust. The scroll will come in handy to adjust certain settings, but overall, our movement is always just with a mouse. As simulators become more immersive visually, the control aspect is a piece of the puzzle that would really assist with that immersion, so pointing and clicking can sometimes take you away from that. This is where hardware, such as Cockpit Simulator’s A320 FCU series comes into play.
Cockpit Simulator has produced 3 different units that replicate the Airbus aircraft’s FCU (flight control unit), split into three parts: the centre console, and the left/right sides. We received a complete set (FCU-C, FCU-L and FCU-R) and had the chance to put it through its paces on several flights across a variety of platforms.
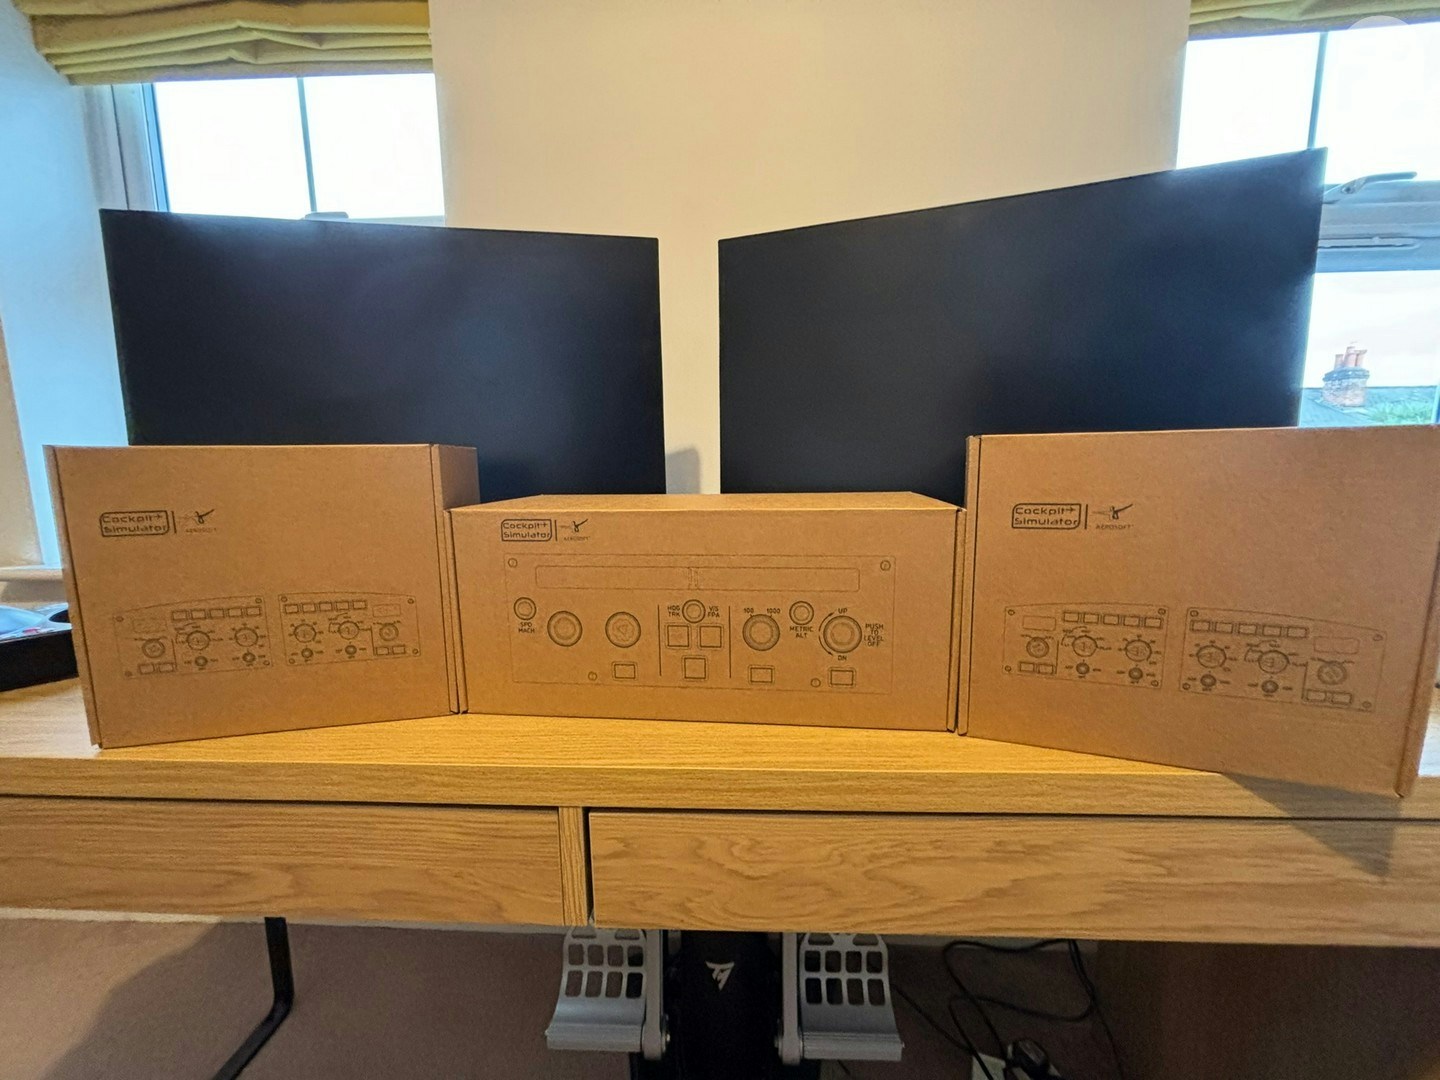
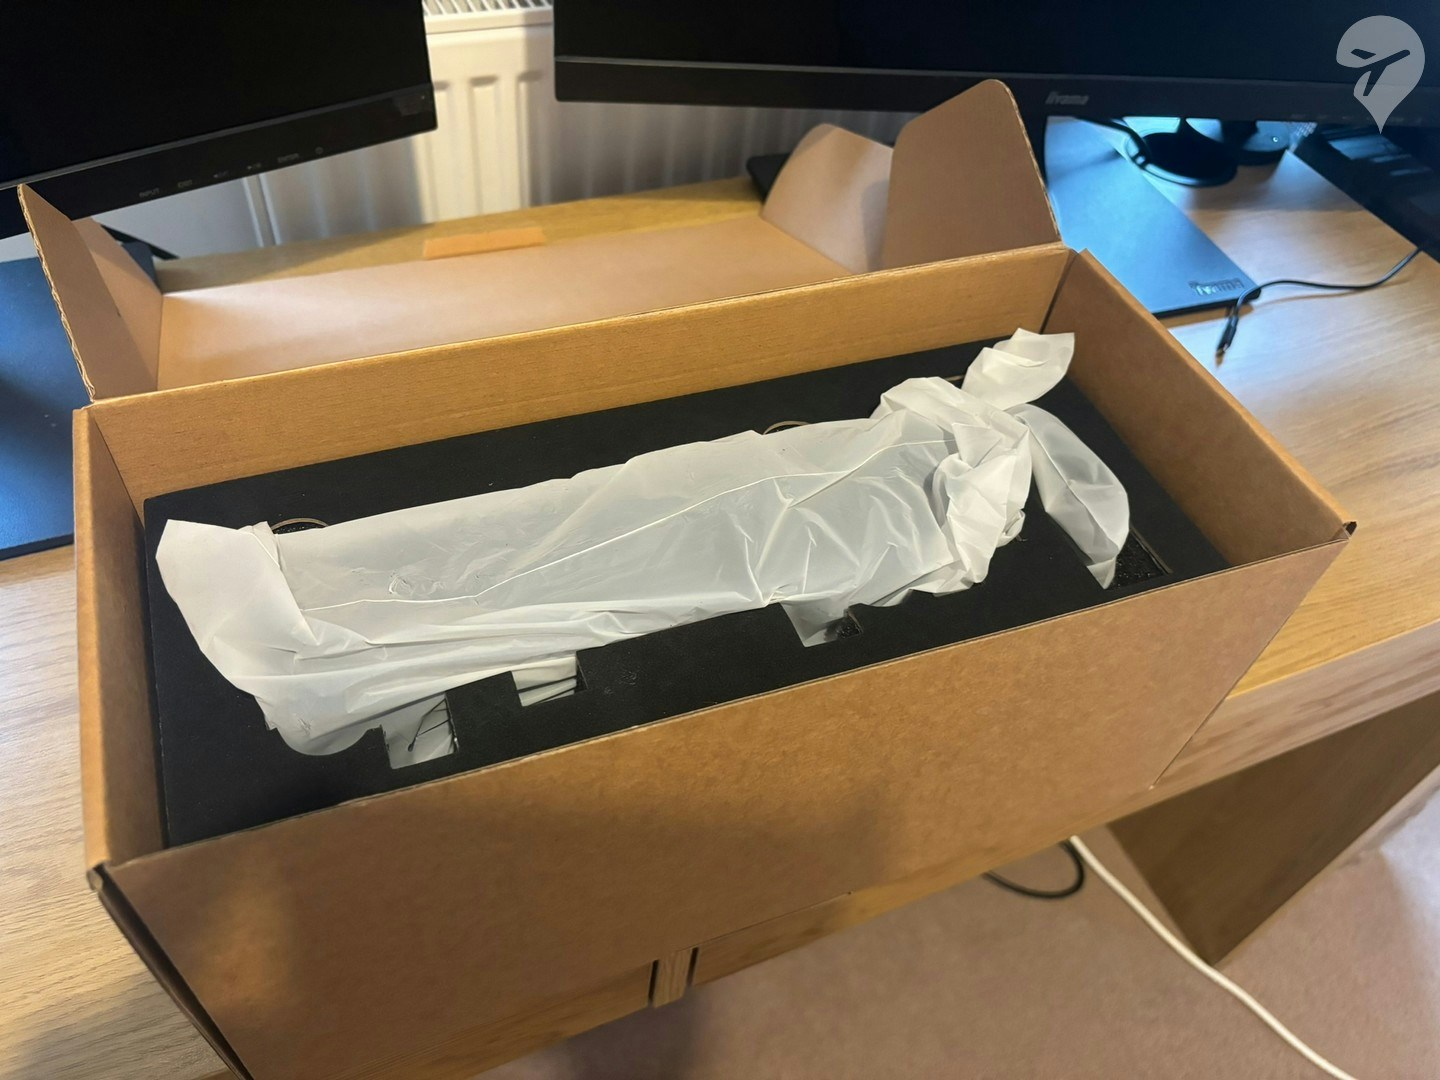
The packaging is fairly basic with a simple design and environmentally friendly cardboard box. Inside, you will find protective padding, the unit and a single USB C cable, both wrapped in a protective cover. No information, no leaflet and no instructions are present in the box, so you will need to head back online to find information on the software you need to install and any further information.
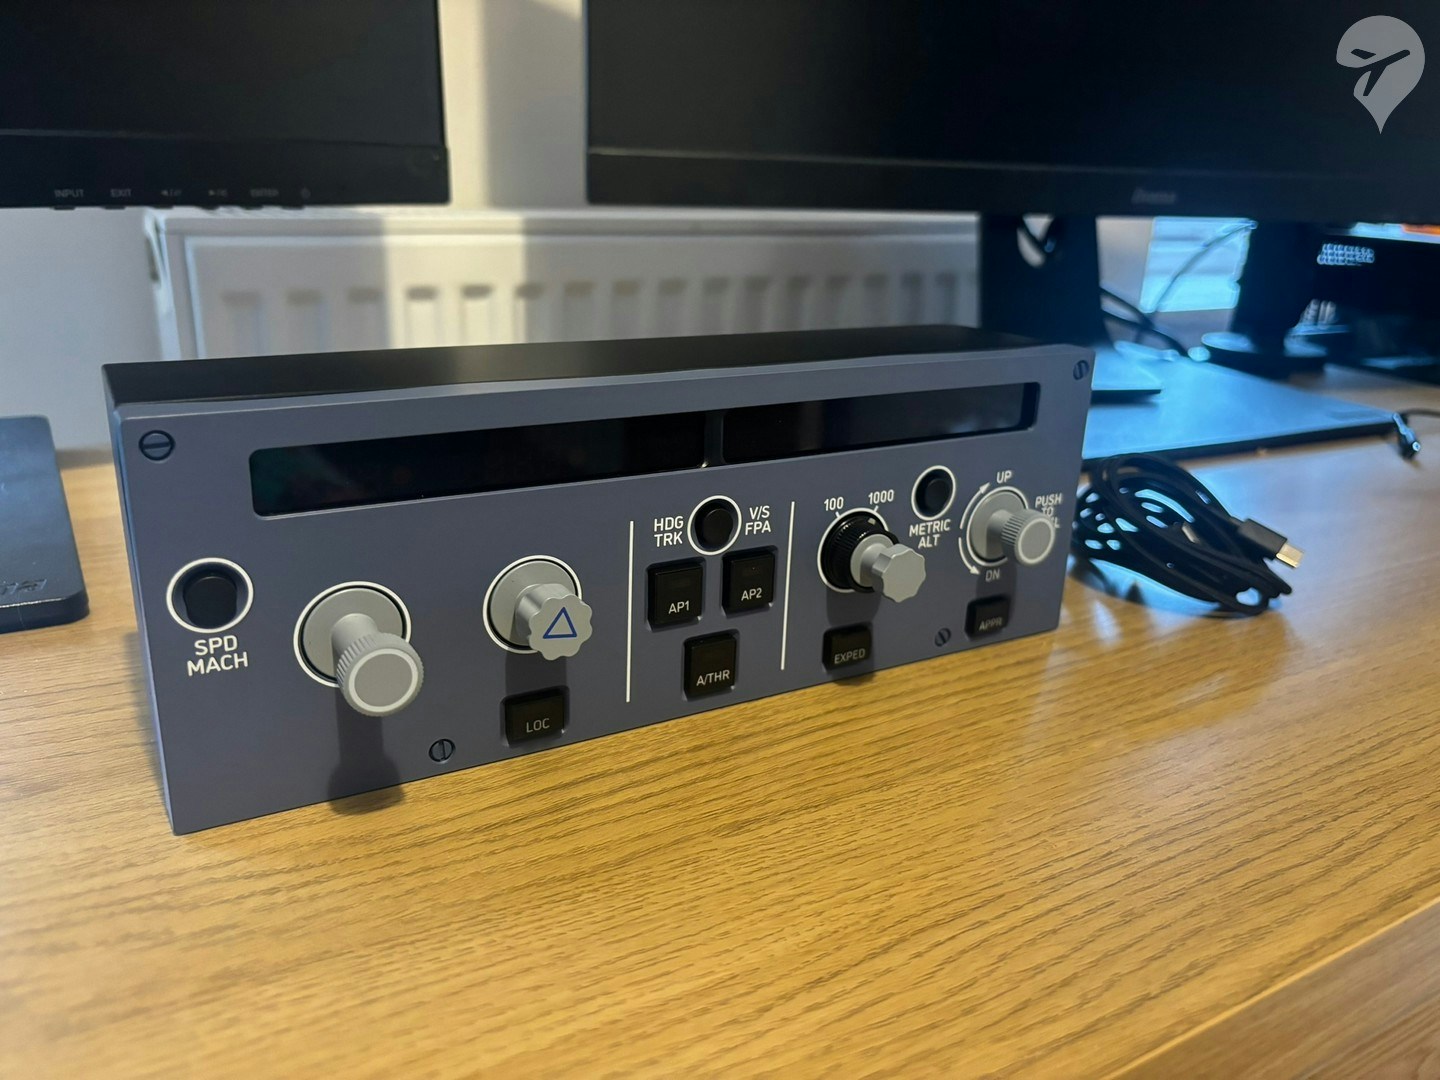
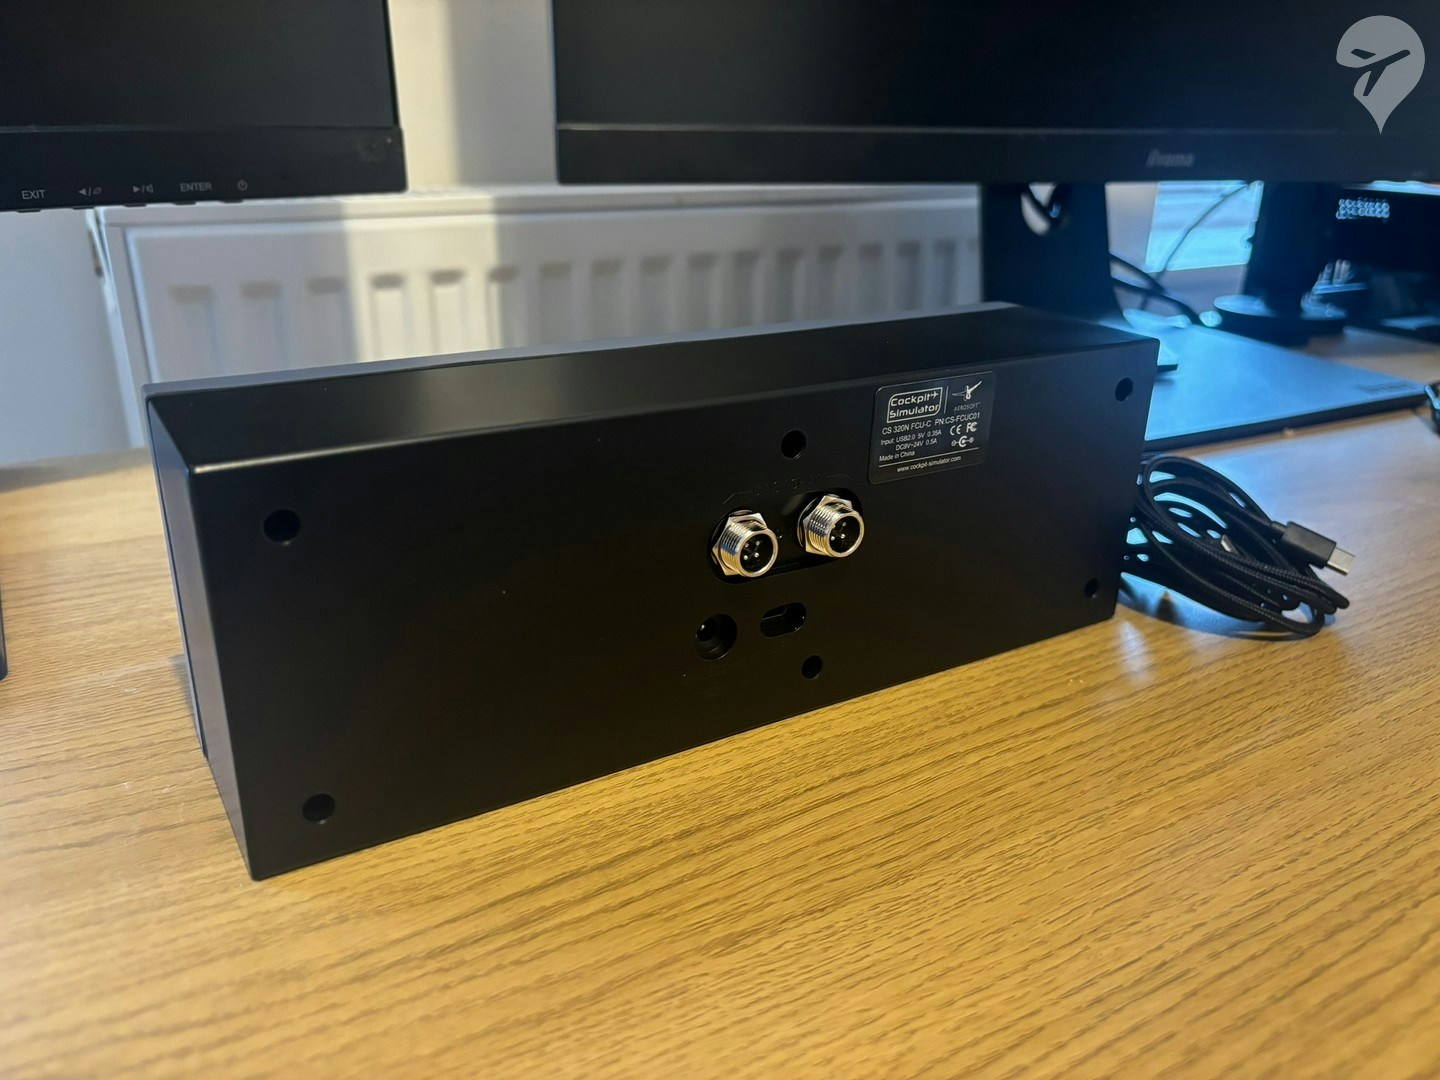
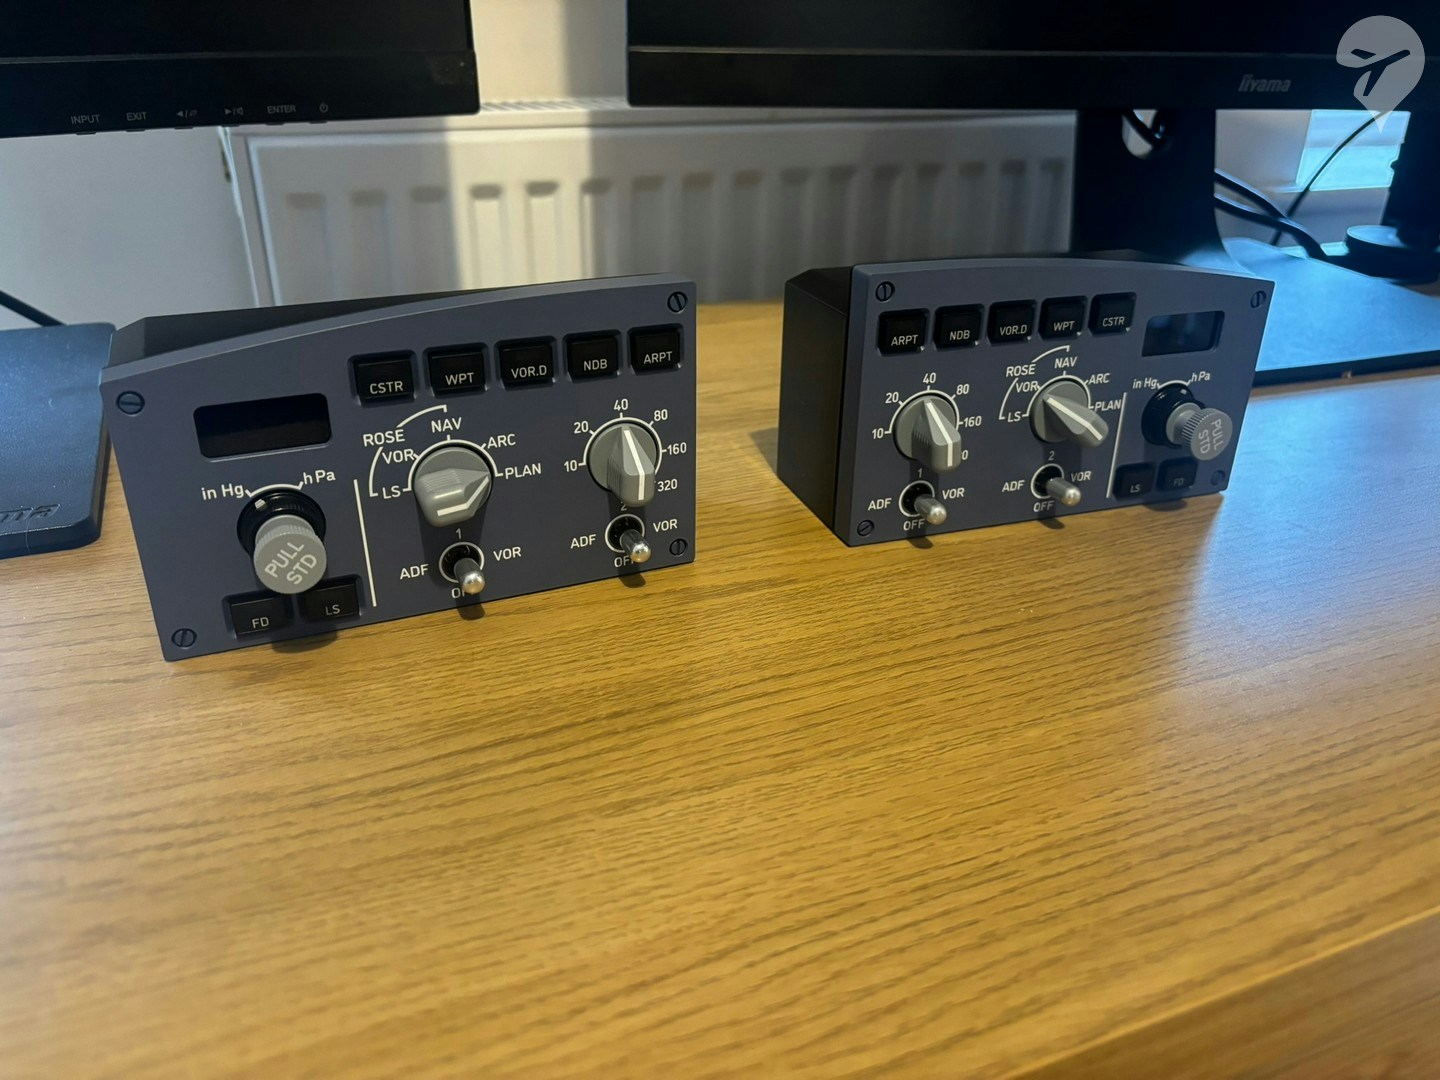
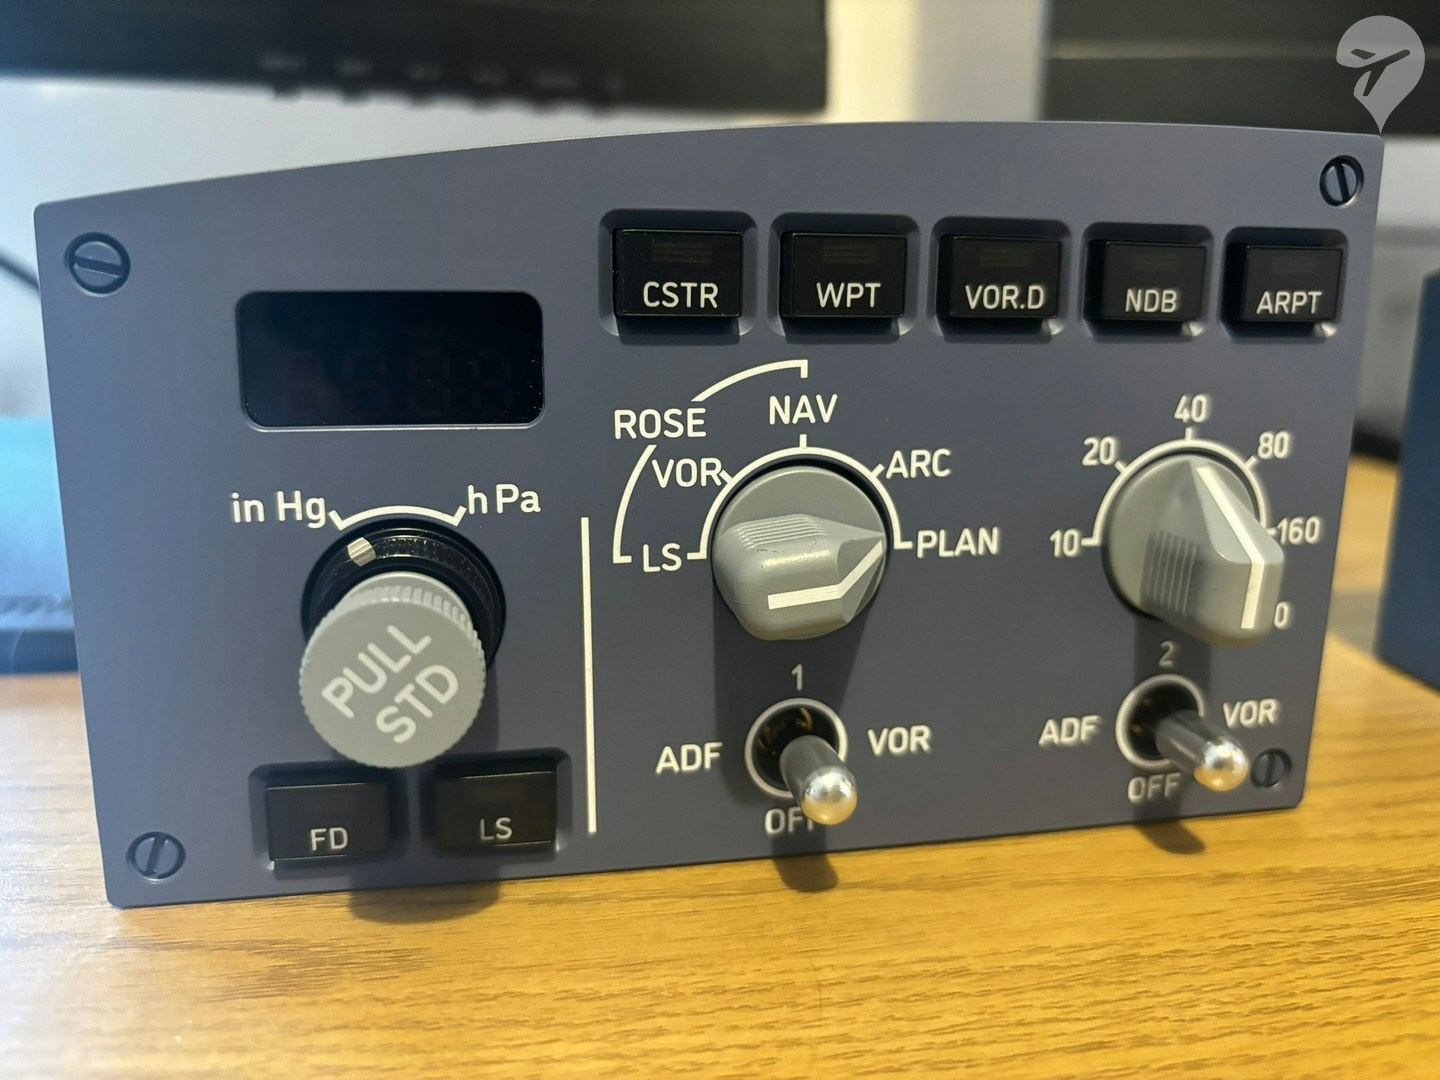
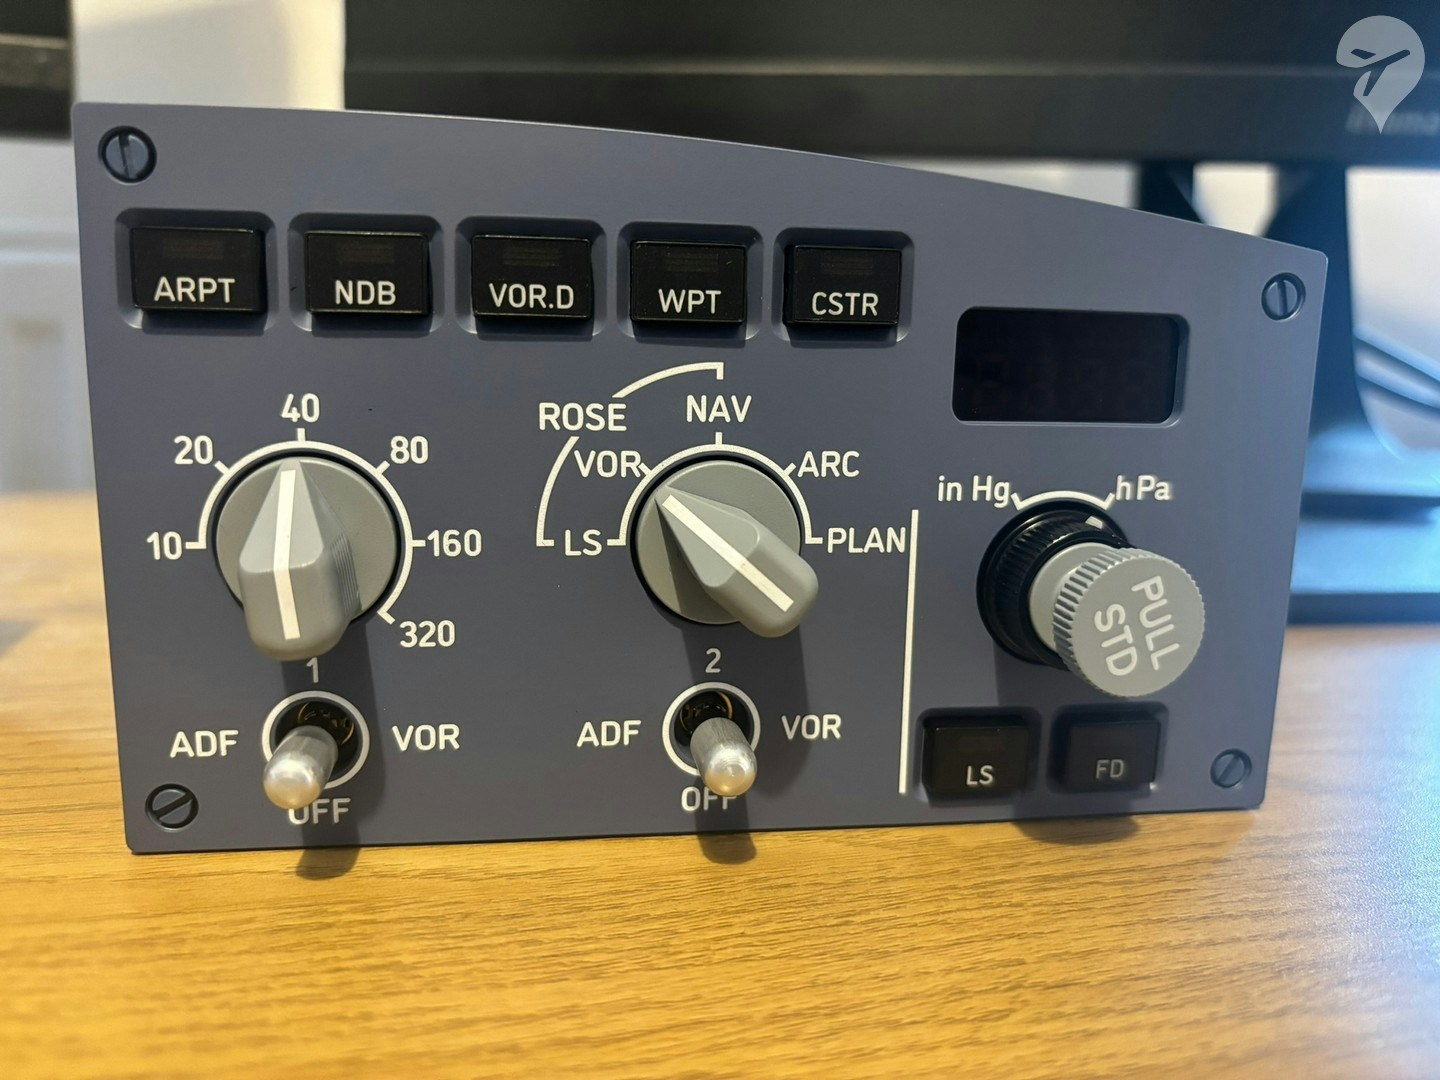
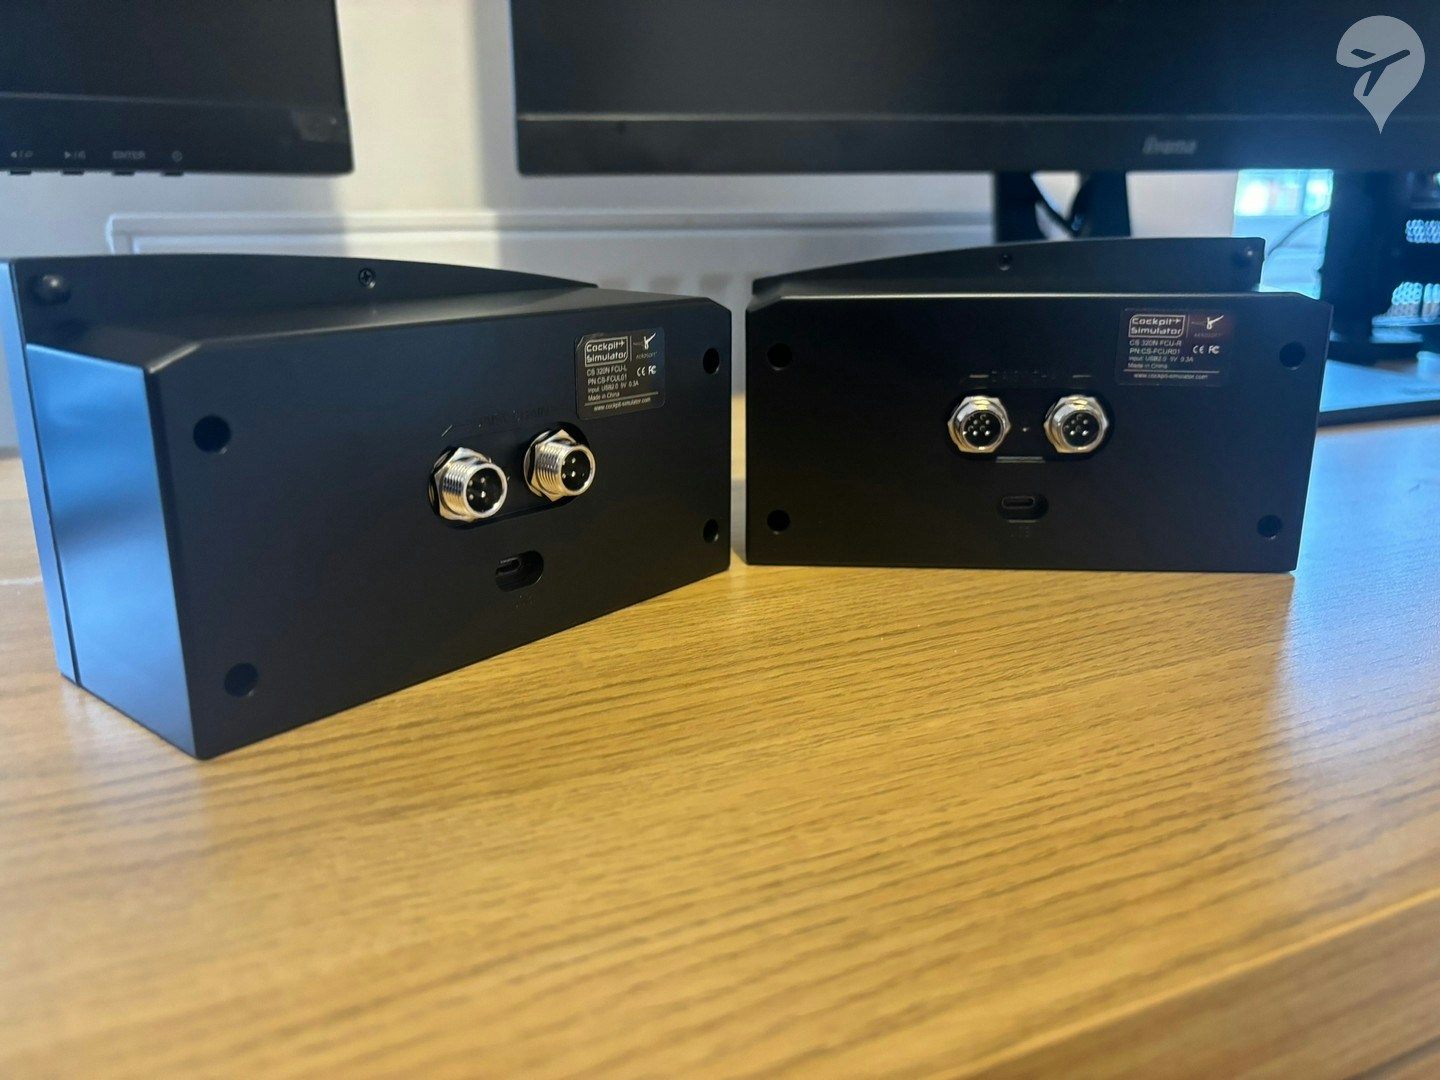
The process of setting the FCU up is simple. You download the Cockpit Simulations ‘Bridge’ software and then plug in your cables. You can use the bridge software to check for driver updates, test everything is working, adjust the backlighting and more. It’s a self-explanatory piece of software and is fairly intuitive. Once that is all done, you’re ready to go.
The units themselves are of a very high standard in terms of quality and durability. Buttons and switches feel nice and stable, and there’s a very satisfying clicking noise whenever you use a rotary knob or push/pull any of the autopilot controls. The units aren’t particularly heavy (0.5-1.2kg) and appear accurate in scale.
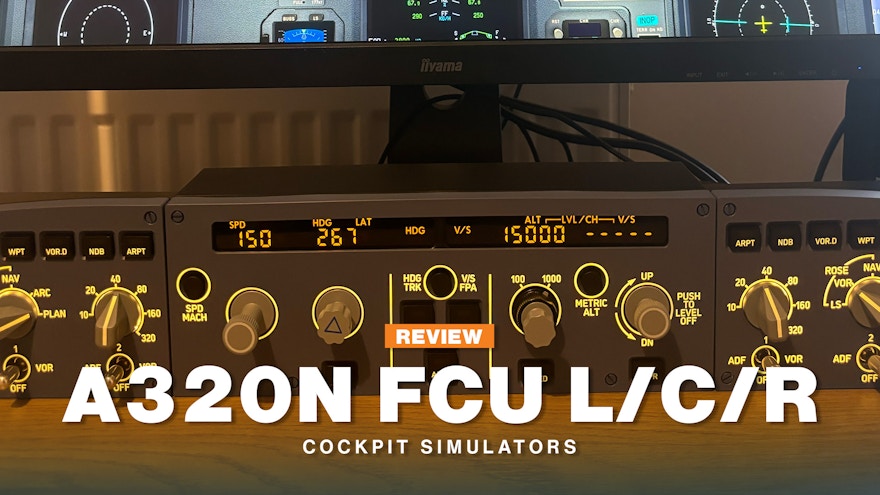
The FCU-C unit has a full set of autopilot controls, including heading, altitude, and speed windows. You can also push or pull all the controls as you can in a real Airbus cockpit to adjust your autopilot settings. The backlighting for the numbers has a lovely Airbus-accurate orange hue and the displays themselves are clear. The left and right FCU units are both sold separately and are mirrors of one another. On these units, you have full control of your navigation screens including the ability to change the navigation display orientation, add airports, constraints etc, and also adjust your pressure settings. Strangely, it is missing the chrono button which would’ve completed the whole panel. It’s a feature I do miss quite sorely considering everything else on this panel I can do without ever using a mouse in the simulator.
My favourite aspect: it just works. Plug it in, download and run the associated software, load your aircraft – that is it. Everything syncs up, works and away you go. No need to calibrate, map functions, add a bunch of drivers or adjust settings – I was flying in a matter of minutes.
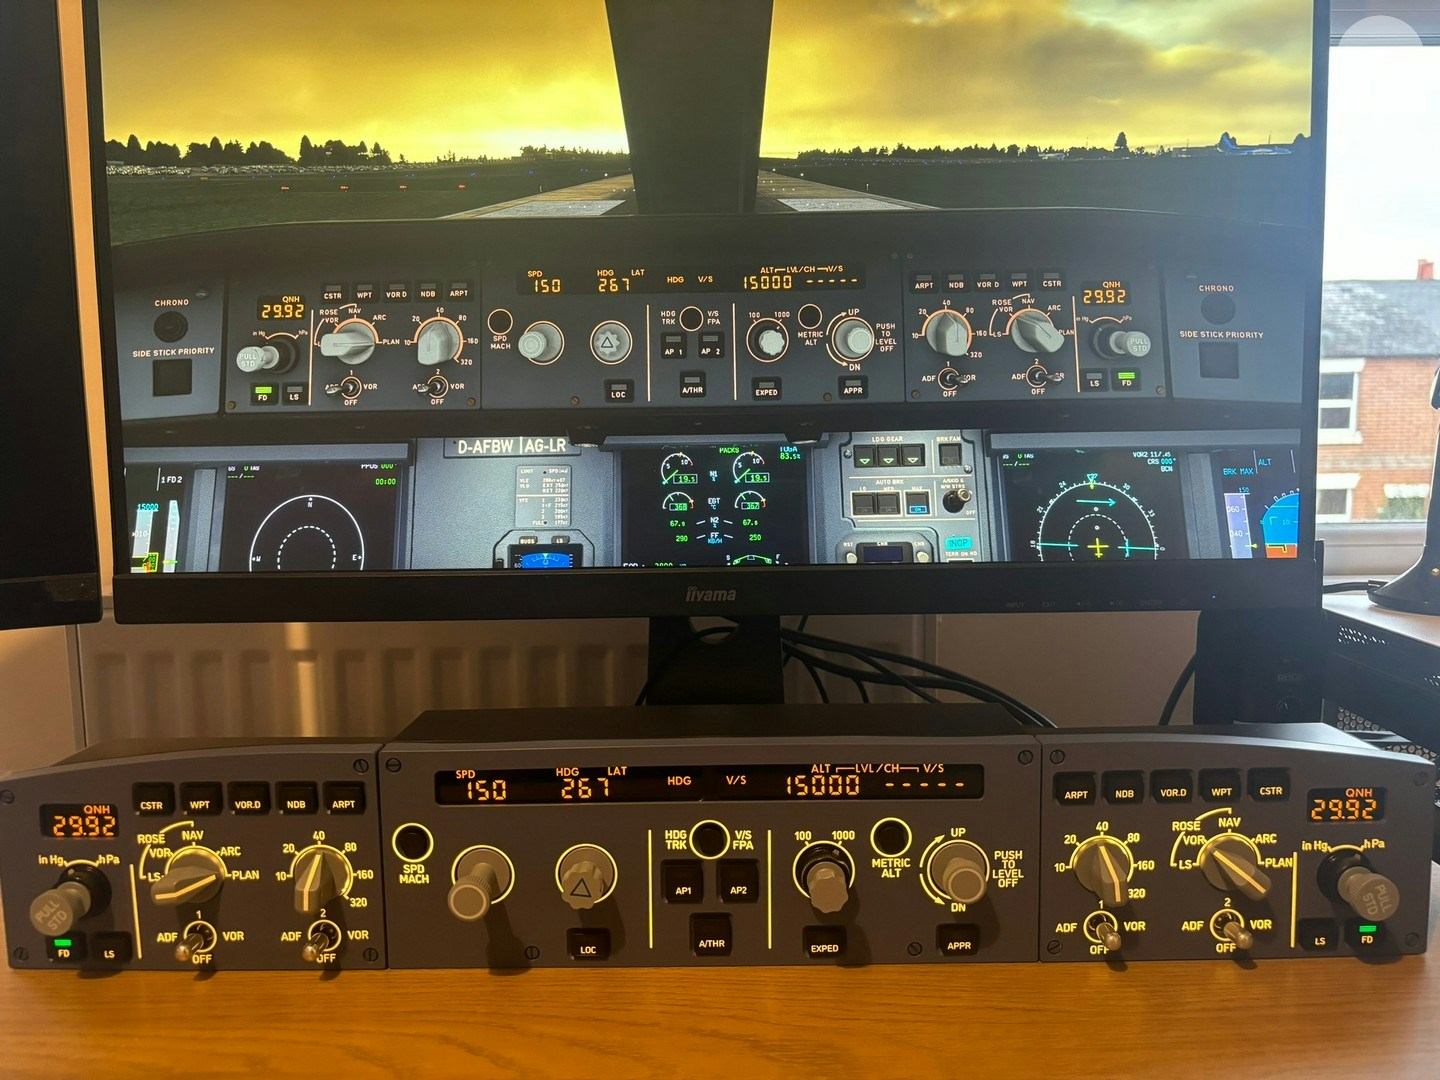
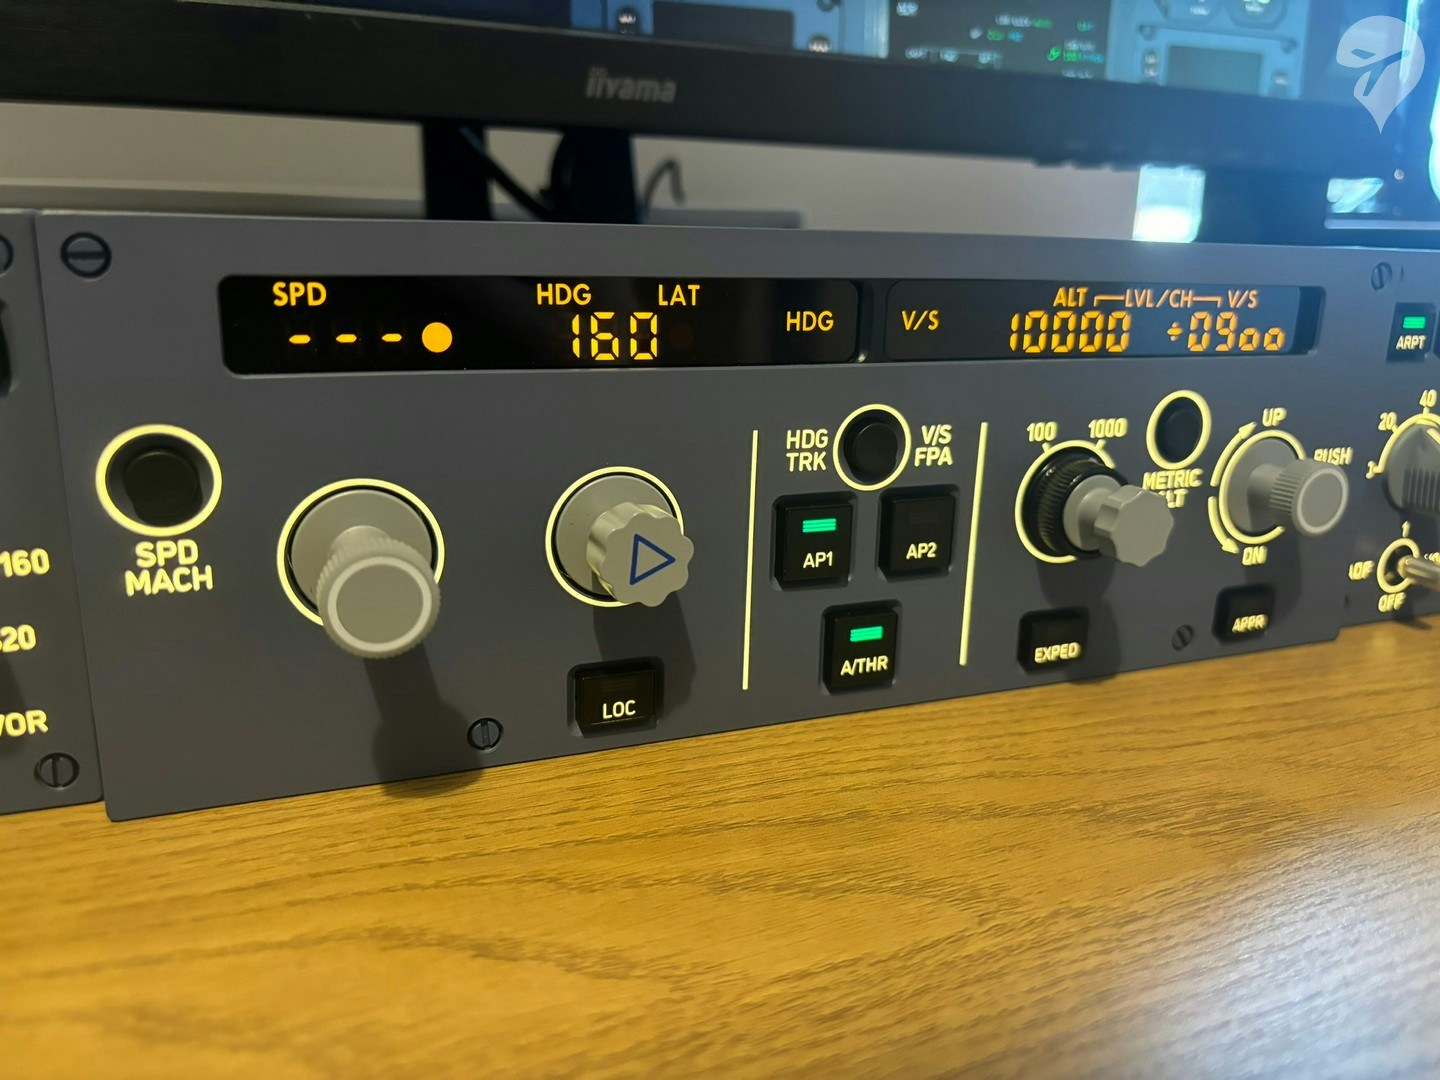
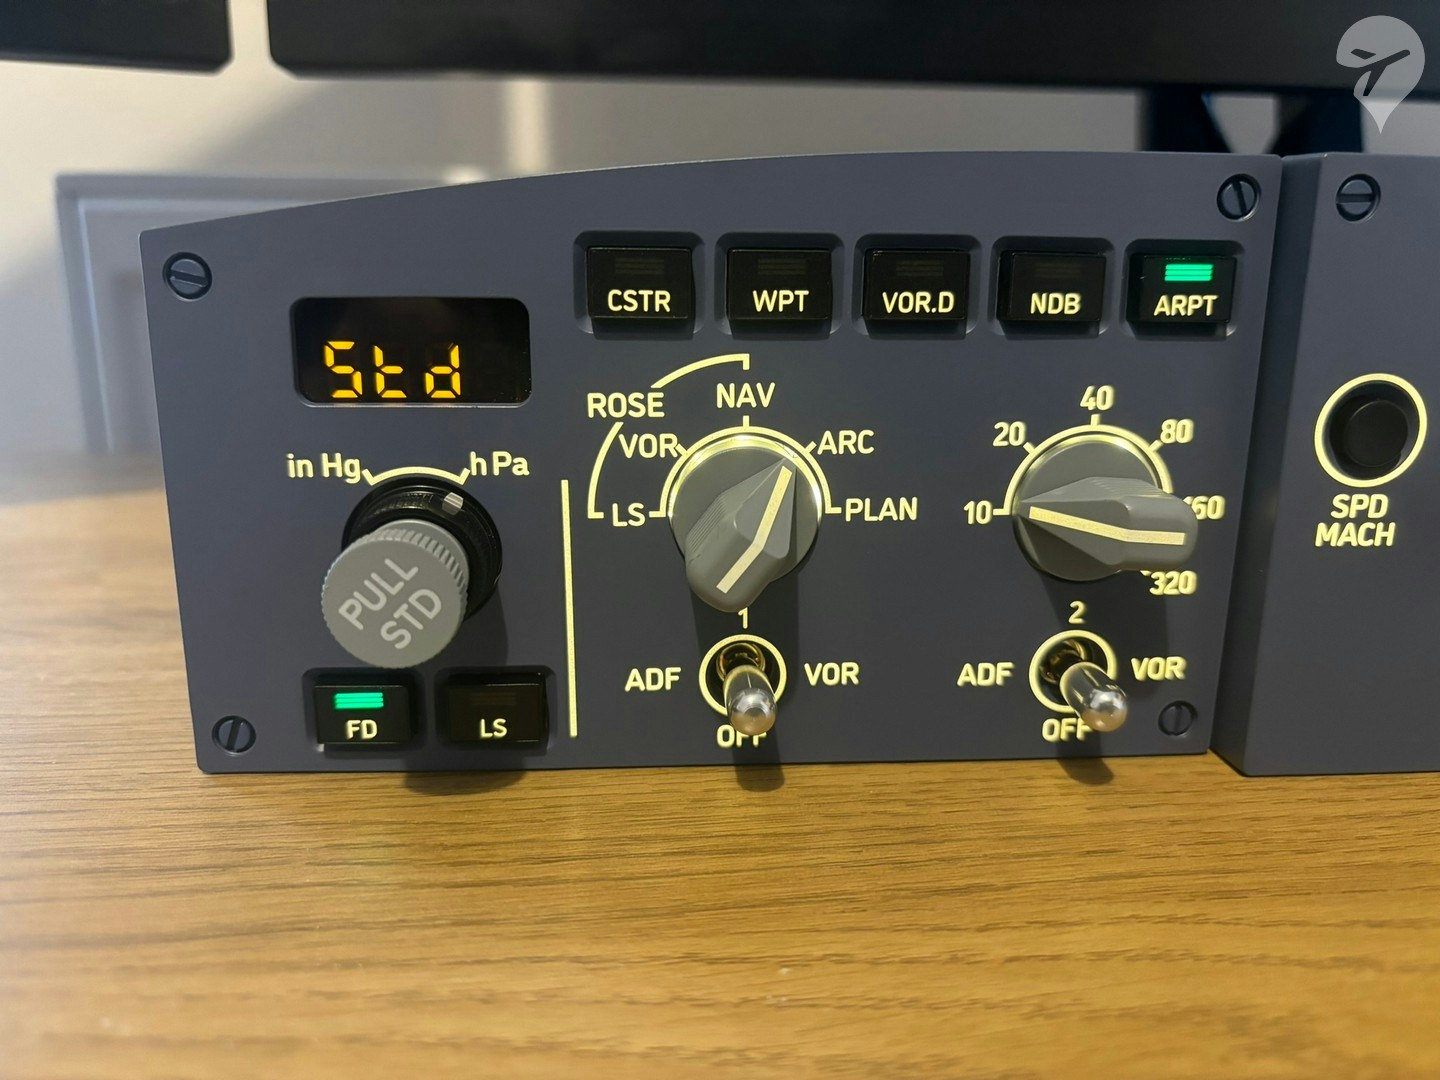
Another impressive feature is how immediate the synchronisation was between the hardware and the simulator. Pressing switches and buttons resulted in a change straight away in the simulator without any lag or noticeable latency. Even when doing fast movements such as rotating the HDG and speed knobs were actioned in the simulator just as quickly as I could twist it.
In my testing, every function on the hardware matched up with the aircraft in the simulator; adjusting the navigation map settings changed these in the simulator, pressing the airport display button resulted in the expected change in the simulator.
It is worth noting that the hardware will override any changes you make in the simulator. For example, should you have your nav display set to ‘40’ on your hardware, changing it to a different value in the sim will result in the simulator then moving it back automatically to the position it is set to on your hardware. This is expected behaviour but after years of using the mouse to change my settings, it caught me off guard a few times. Not a flaw, but perhaps something you may wish to know.
Whilst I very much appreciate the simplicity of the hardware to use, it is limited by the aircraft it functions with. At the time of this review, it is functional with only a limited number of aircraft. This includes FlyByWire’s A32NX and the Headwind Simulations A339 for Microsoft Flight Simulator, the Aerosoft Airbus series for Prepar3D and ToLiss Airbus products on X-Plane. If you’re an avid user of the Fenix, FlightFactor, or FSLabs products on their respective platforms, then this won’t work. I believe this is more down to the software’s SDK capabilities (or lack thereof) rather than a ‘fault’ with the product, but it does limit its usage. That said, those are some solid choices (in particular, the free FlyByWire A32NX addon) and means all three flight sim platforms can be used with the Cockpit Simulations Airbus hardware.
Just to add a quick note here, Fenix has said they are opening up their SDK for hardware makers to enable this type of bridge (which is already happening with competing products).
Perhaps my biggest complaint is how there is no way to stop the units from moving when on a desk or similar surface. Of course, these are primarily designed for home cockpit builders, but if you did want to use these as single units, then you’re going to need to find your own solution. Under the units are small screw holes, enabling you to bolt them to your desk or surface, but this will of course make it a semi-permanent feature of your furniture. You could easily buy rubber feet from places such as Amazon and stick them to the base, which might be a less permanent and more convenient solution, but I have not tested such a setup.
Another solution would be to use Cockpit Simulators’ stand solution if they bring across something similar that’s available for their 737 cockpit series. But this is another cost on top of the already pricy hardware units.
Speaking of price, these are some expensive pieces of kit. The FCU-C will set you $899.00 USD, whilst each of the side FCU units (left or right) will cost you $399.00. Again, it comes down to the target audience and for that price, those building home cockpits will be hard-pressed to find similar quality units for anything cheaper. As someone who wants to place these on a desk and fly, it does seem expensive. But for the build quality and simplicity of the plug and play nature, there is a lot of value here.
Based on my experience with the Cockpit Simulations hardware, the primary unit I would consider is the FCU-C, followed by either a left or right FCU unit. Your side of choice will obviously be determined by your preferred flying style, but both units are equal in terms of build quality and functionality.
