Back in September at Flight Sim Expo, FSElite was privileged to get hands on with the Thrustmaster TCA Boeing Pack and share some of the first photos and videos the world had seen. Now, a few months later, we’ve come full circle as this yoke and throttle are now sitting in my office.
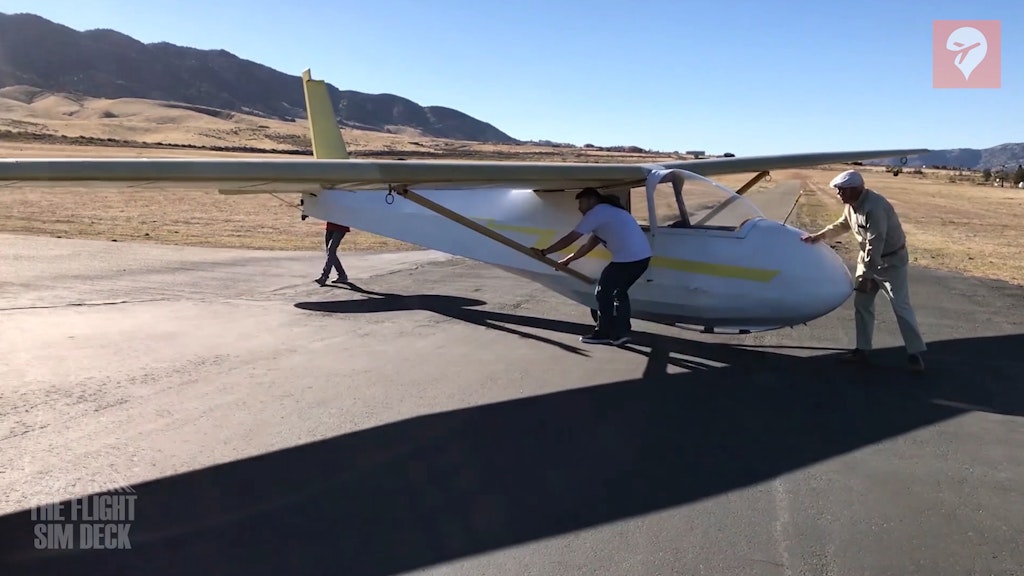
Hello everyone, Patrick here and today I will be reviewing the TCA Yoke Pack Boeing Edition, compatible with PC and Xbox. Thrustmaster also threw in an additional throttle quadrant, allowing us to get the full experience using two together. Before we get started, I think it’s important you know my background. I am not a licensed pilot. In fact, the only aircraft I’ve flown in the real world was a stick based SGS 2-33 glider. But I have tried and owned just about every yoke on the market today. From CH, to Saitek/Logitech, Honeycomb, Virtual Fly, and others. So, I have a pretty wide range of knowledge in how the various flight simulation yokes feel and operate.



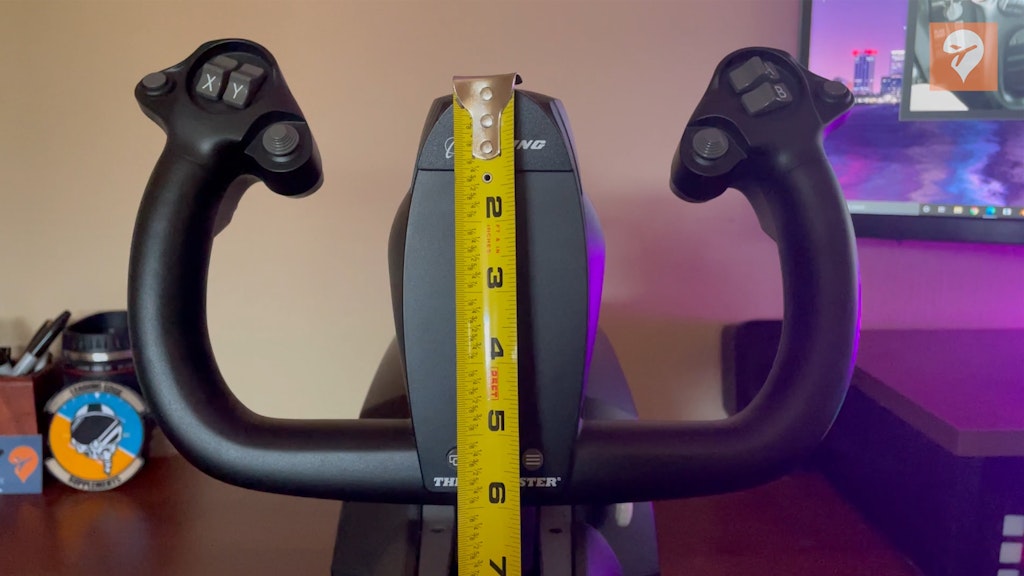
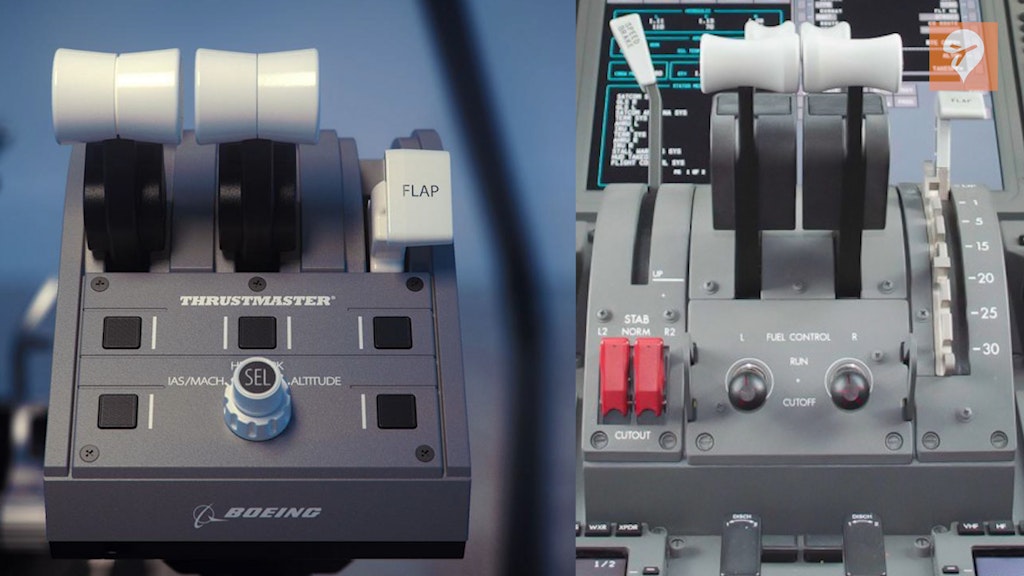
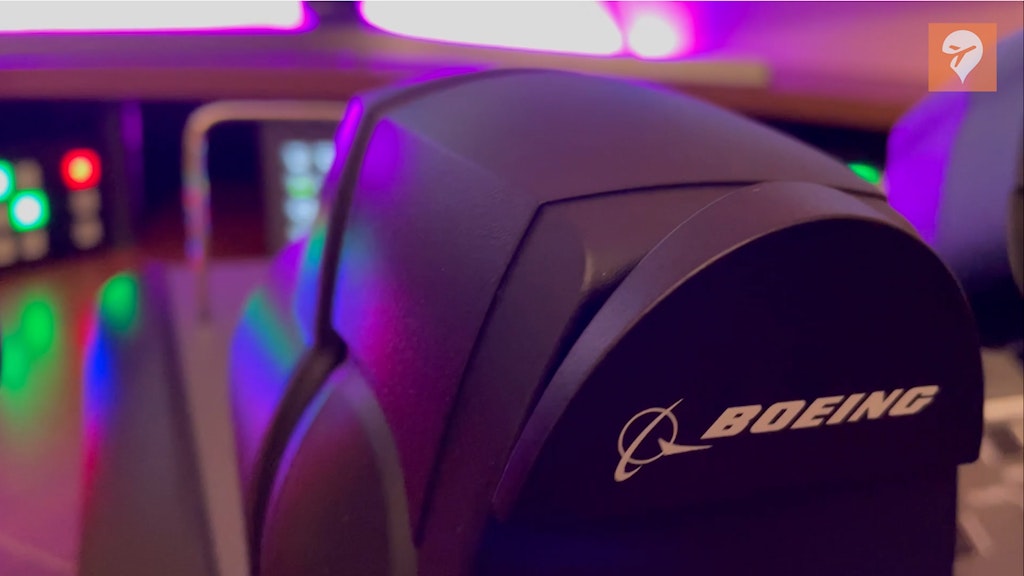
For the first time ever, Boeing has officially-licensed a consumer flight simulation peripheral. Now, this does not mean you can add it to a trainer and log hours like an FAA certified yoke. But it does allow a company like Thrustmaster to produce a 1:1 scale yoke depicting the one found in 787 Dreamliners. Is it truly 1:1? They claim so, it’s just difficult to verify without the real life measurements. The yoke measures 11 inches down the center and 12 inches from the top where the buttons stick out. A Boeing 737 yoke is about 13 inches, and the 787 yoke appears slightly smaller in photos. It’s entirely possible 12 inches is accurate. The throttle and spoiler range look like they could be accurate too. But the flaps on the 787 extend further and the handles overall are much larger in height.
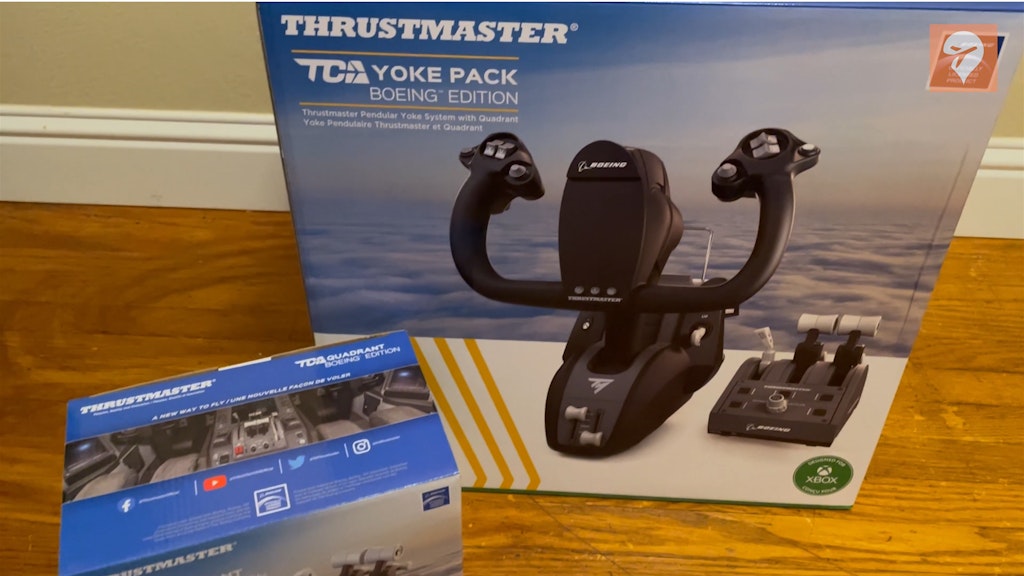
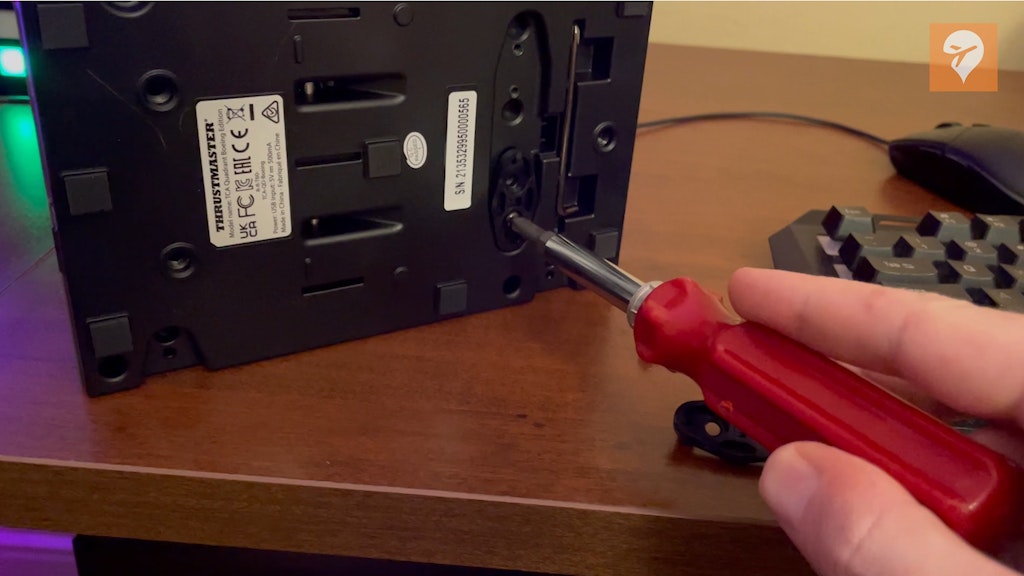
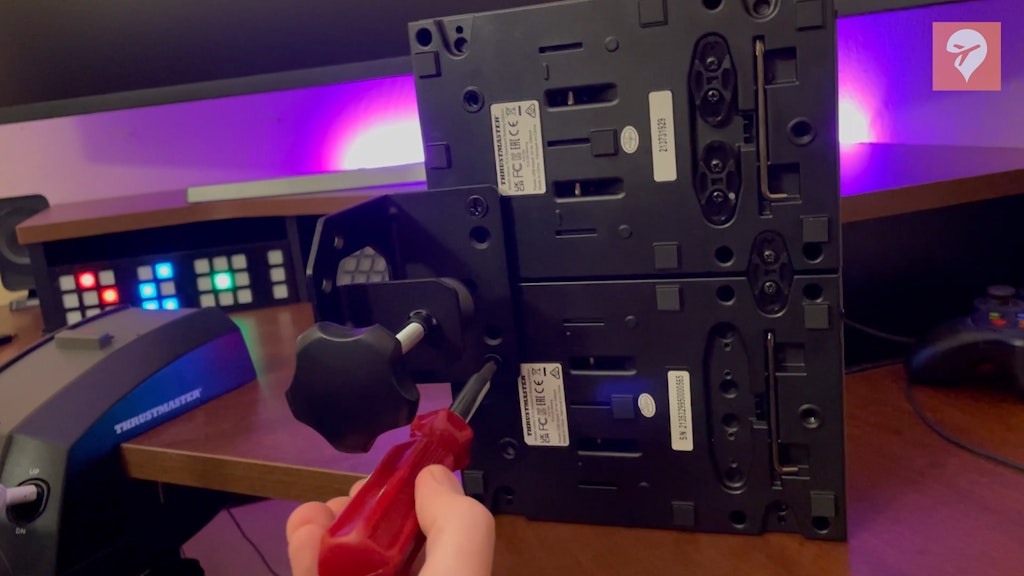
From the nice box art to the contents inside the box, this TCA pack was very easy and straight forward to unpack. The yoke itself is all together in one piece, minus the USB cable, and a clip you can add to hold charts, tablet, or phone. The throttle does require some assembly, especially if you plan on tethering two together. If you only have one throttle you can go straight into screwing in the mounting clamp. But since we have two throttles, we need to unscrew two brackets from the bottom of the throttle. They do provide a small Allen wrench like screwdriver for this, but I found it doesn’t have enough torque to turn the screws. Instead, I used a regular Phillips screwdriver which removed the screws with ease. After that, you can place the brackets to join the two throttles together. Now we just need to add the clamp down the center and it’s ready to go on your desk



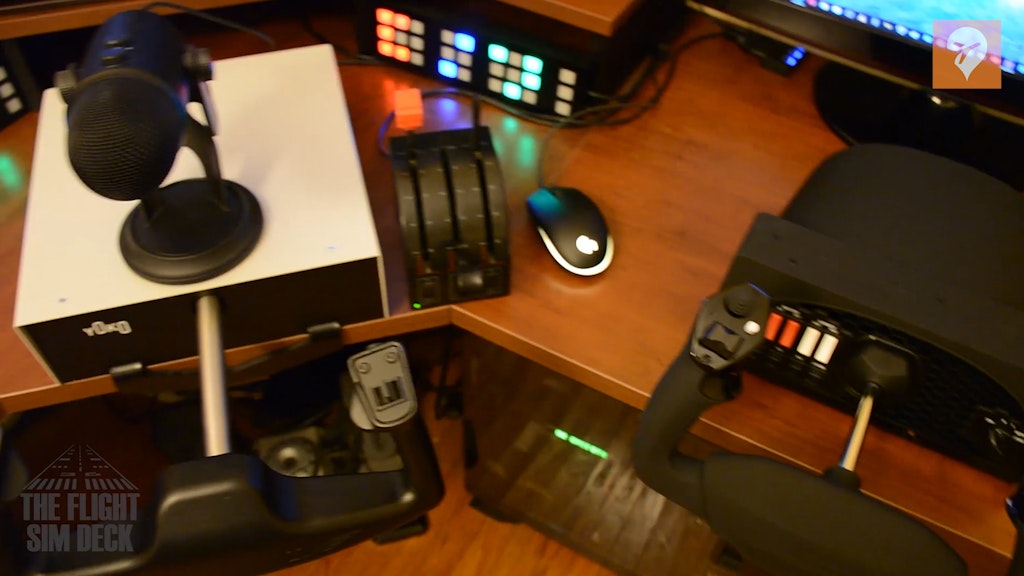
The last thing we need to do is configure the spoilers, flaps, and throttle arms. If you’re only using one quadrant, you have a couple of choices. One is you use the two provided throttle arms, and then have to decide if you want the last axis as the spoilers or flaps. Most likely your choice will be flaps, as it’s the more crucial component for takeoff and landing. Or you go with one throttle in the center, so you can have both spoilers and flaps on the throttle. If you do go with the 2 throttles and flaps you can use the yokes bottom axes for spoilers or flaps. I just really wish the design of this throttle had included one more axis for a total of 4. This would have looked great and completely eliminated the desire for two throttle quadrants, unless you were interested in a Boeing 747 style setup. While we’re on the topic of two throttles, they almost didn’t fit alongside the yoke because I have a corner desk. That is something to consider if you’re thinking of getting two. One would be more ideal for a desk like mine, but luckily the yoke ended up having enough clearance without hitting the throttle.

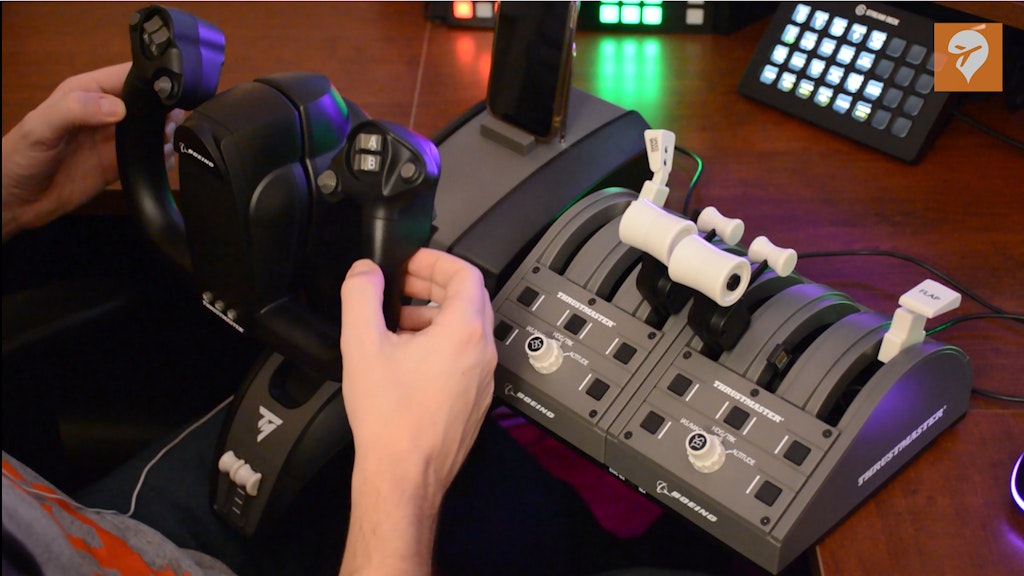
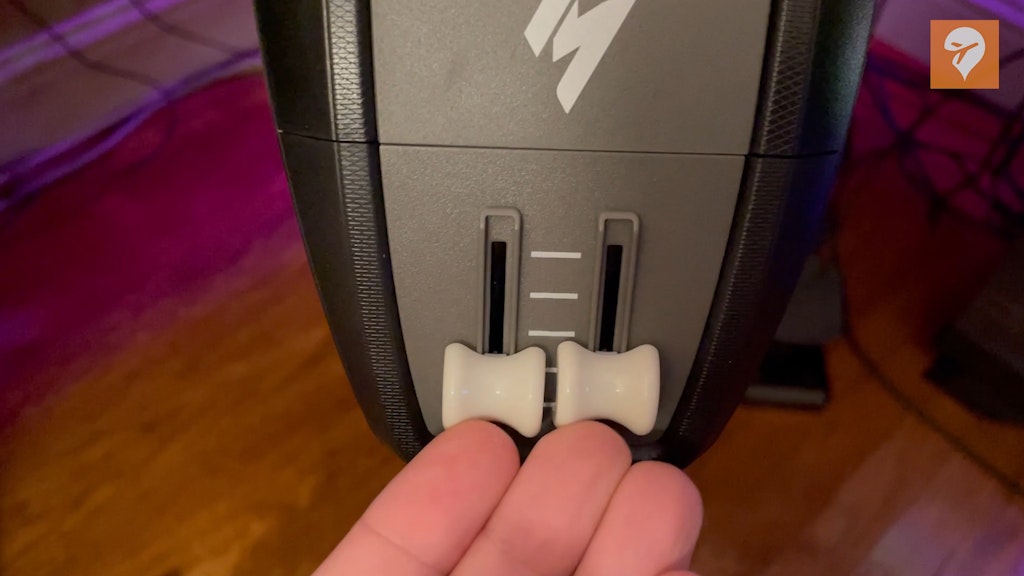
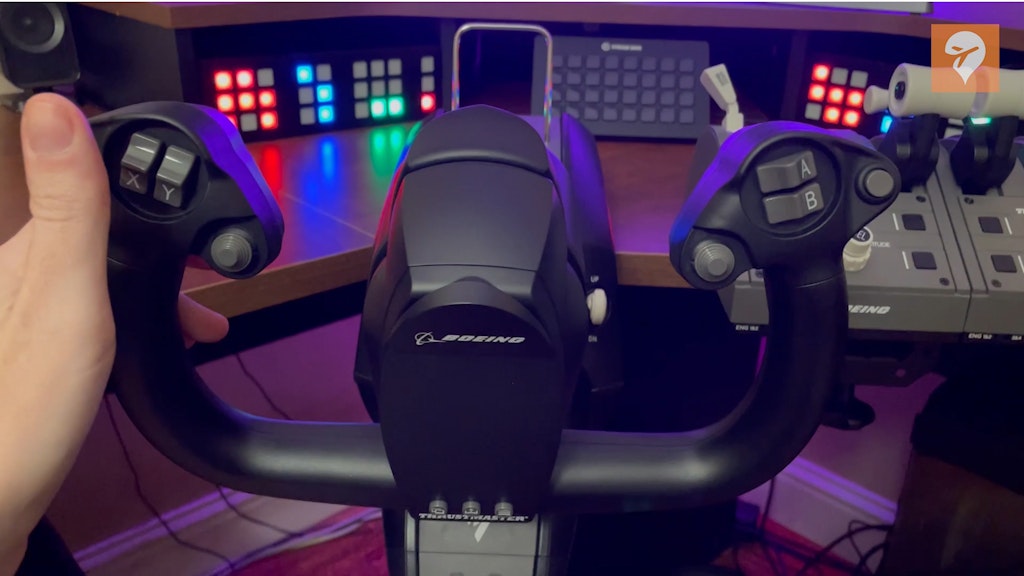
Next we’re going to talk about the buttons and features of this pack. The exterior of the yoke uses a matte black colored plastic. Inside, the yoke is built on a metal frame and weighs about 3.6 kg or 8 lbs in total. For perspective, the Logitech yoke weighs 1.4 kg or 3.1 lbs. The yoke has 18 buttons, and 6 axes. Starting from the left you have 5 button inputs, an 8 point hat switch and one button on the back side. On the right, 5 buttons and one on the back, as well. Also, instead of a hat switch there is a mini control stick, which is nice to have. Not only for scrolling through a menu but freely panning the camera view around. Moving down we have 3 buttons for view, menu, and sharing, or anything you want to map them to. The base of the yoke has two sliding axes, a button to power on the Xbox, and a landing lever. The landing gear is a 2 point switch and does require some force to move. The switch is without indicator lights and simply puts the gear up or down.

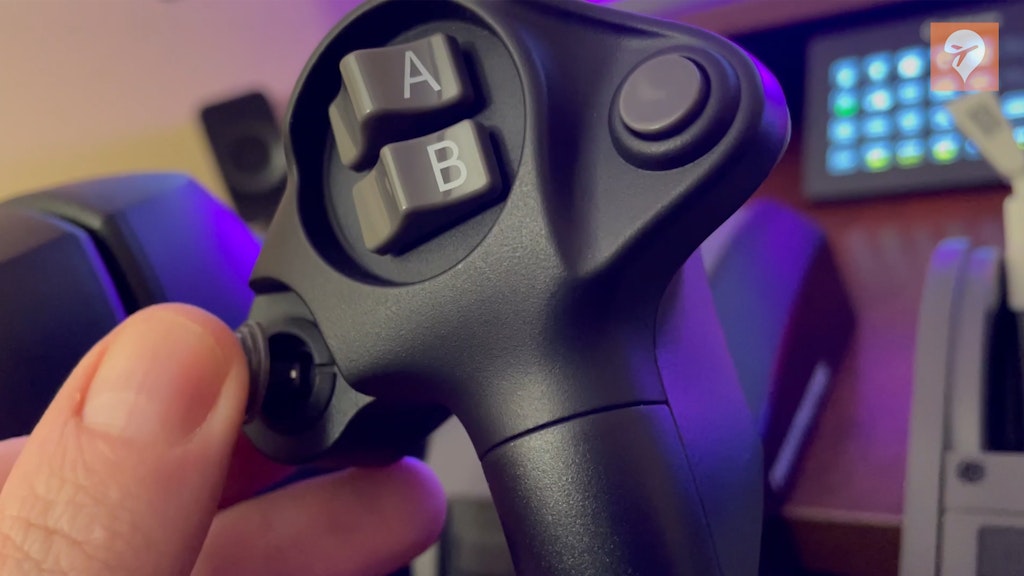

As you can see, a few of the buttons do have the X, Y, A, B labels from the Xbox controller. I know some will not like seeing this. Too late for the current units, but the only solution I can think of is leaving these optional and include stickers, should anyone want to add them. The yoke appears to have a clamp here at the top, but it’s just part of the mold, with no hinge or way to hold the thinnest of paper. Kind of a shame, because it would have been nice to have for clipping a chart or checklist. Flight sim yokes typically don’t have working clamps so it would have set it apart from others in that way.
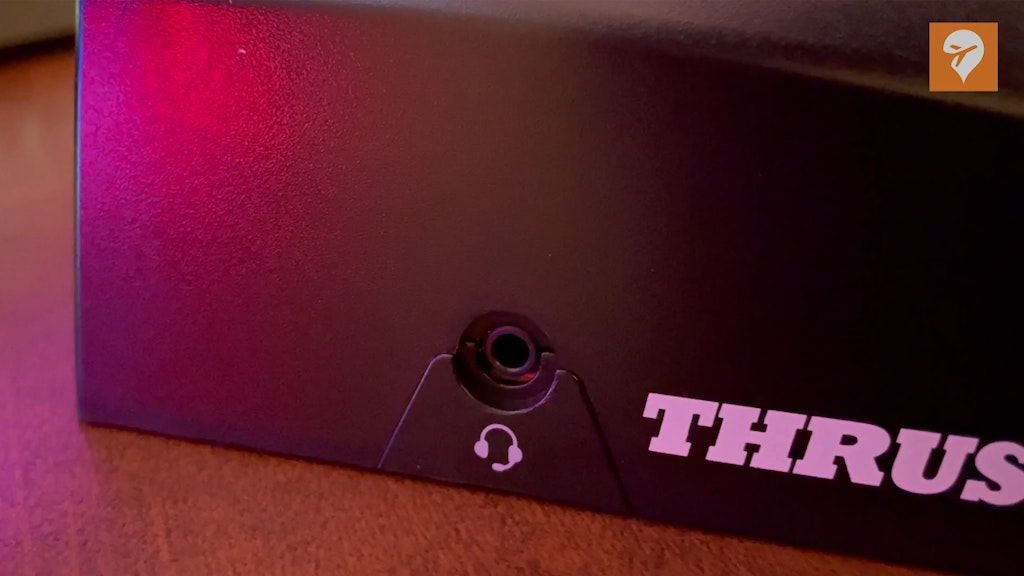
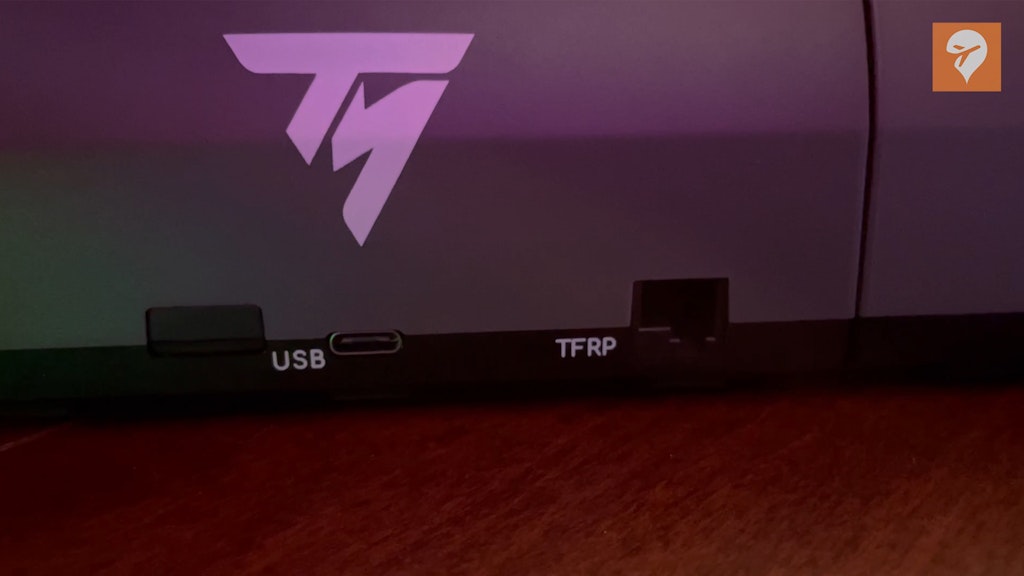
One nice feature they added was a 3.35 audio jack on the left of the yoke. I really appreciate the extra slack this gives me for my headphones, which are normally stretched over to the audio jack on my computer. The back side has a button to select if you are using PC or Xbox, and a USB port. I tried plugging the throttle quads into this port, but my computer would not recognize them. I ended up plugging the throttle directly into my USB hub, along with the other one, where it was recognized right away.
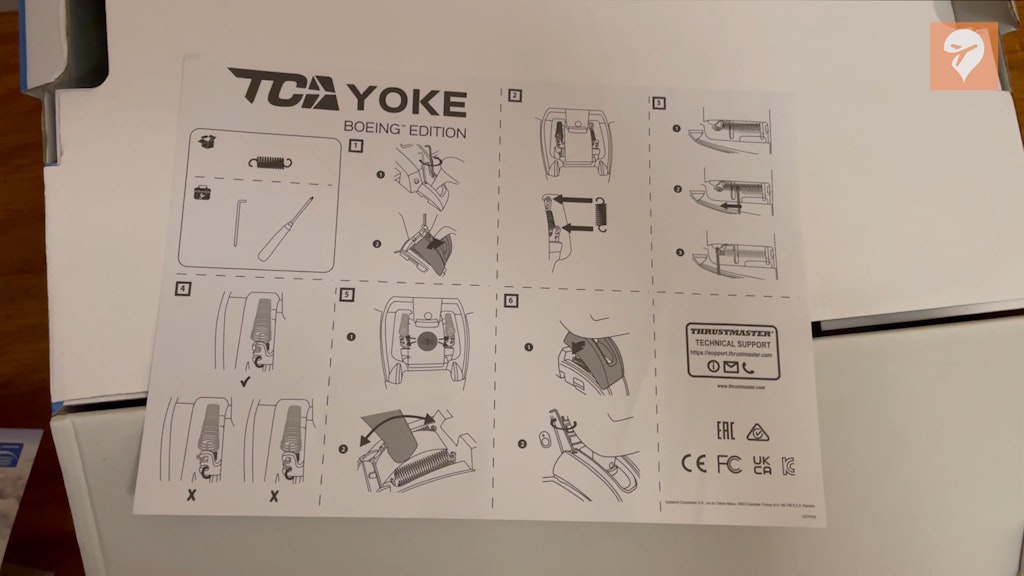
Airliner vs. small general aviation yokes handle differently mechanically. GA planes use a straight and level system, while the airliner yokes slightly tilt toward you as they are pulled. My first time pulling on this yokes 8.3 inch range felt shockingly smooth. Unlike every other yoke on the market using a straight shaft, this yoke uses a pivot Pendul_R™ system to replicate the system used on Boeing aircraft. It’s a pretty cool way to do it, and it feels great. I’m also pleased with how well the clamp holds the yoke to the desk when pulling. I’ve had yokes in the past, though mounted, would still rise a little bit on the far end. The default tension does give a sense of weight when moving it around. If you want even more tension Thrustmaster does give the option to adjust the springs if you want more. 2 to 4 can be used and there are instructions provided on how to do this. The yoke has 150 degrees in total roll axis. The yoke uses Hall Effect sensors which generally do not wear out because they use a shaft and a magnet that never actually touch the sensor. Pulling and turning the yoke both give you 16 bits of precision which equals 65,536 x 65,536 counts per revolution. This value is the measurement of voltage converted to a digital value. In other words, it’s able to break the travel range into 65,536 individual points. This allows it to pick up some pretty fine movements all around. The yoke instantly recenters when letting go of the pitch, and has a springy return to center on the roll
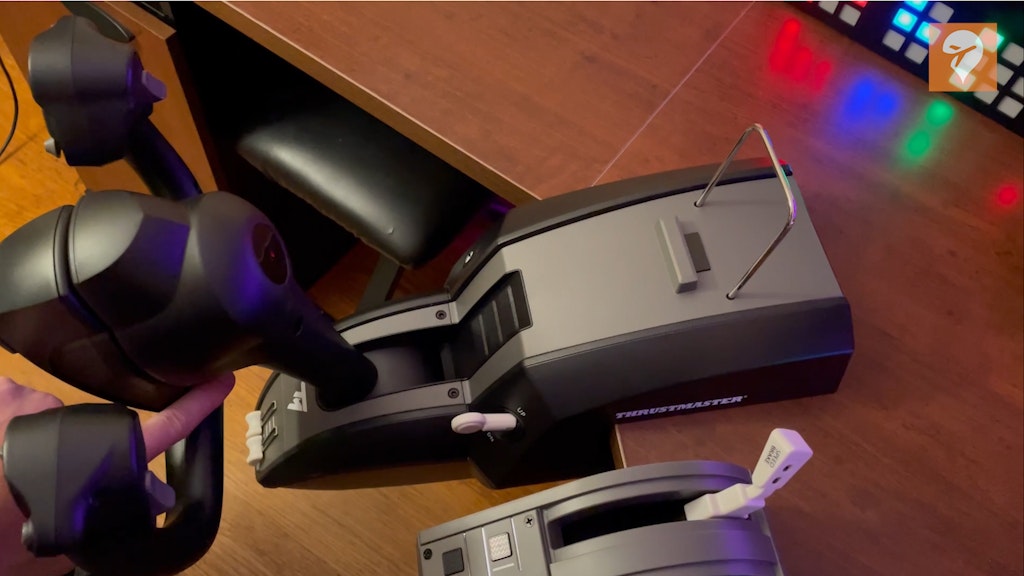

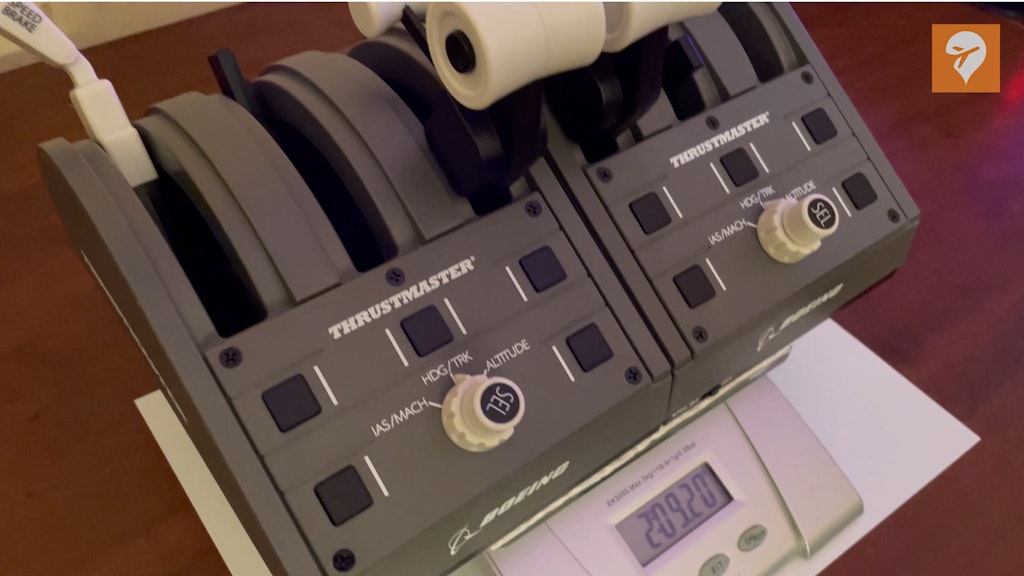
Moving on to the throttle, which also takes advantage of the 3D Hall Effect sensors. The two throttles together weigh 0.94 kg or 2 lbs. On a single quad you have 3 axes and 17 action buttons in total. 5 buttons on the face, a knob for speed, heading, and altitude, a second knob to control those values, which also pushes in. At the bottom there is a switch for those using two throttles. This allows you to set which quad will be the 1&2 and 3&4. The throttle arms also have a button on either side, which can be used for the Takeoff/Go Around mode, autothrottle, or whatever you please. On the back you can also tether it to a set of Thrustmaster Rudder pedals. Keep in mind the components inside these throttles are very much exposed to collecting dust. You might want to find a way to keep the unit covered when not in use.
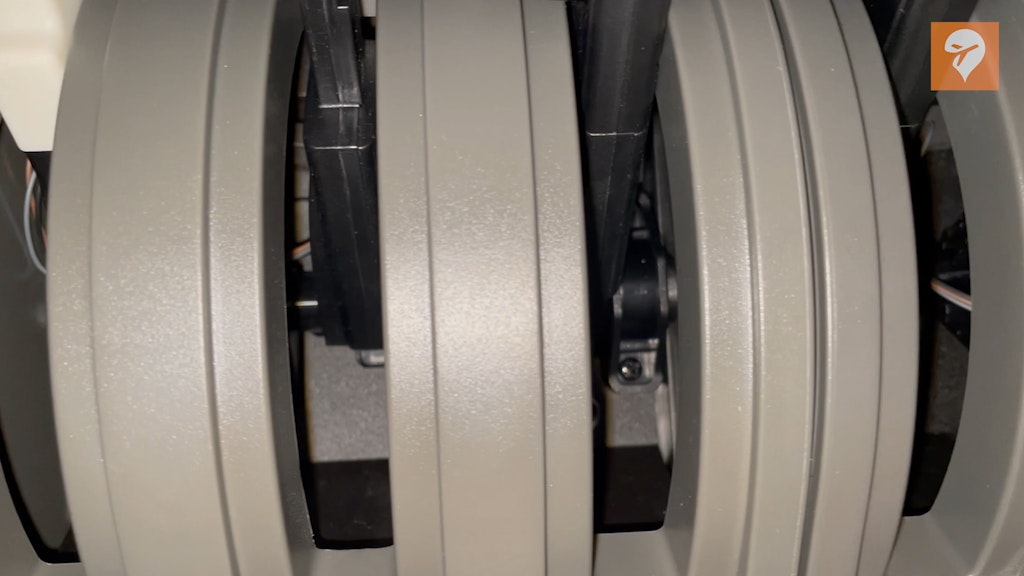
Moving the throttle quadrant arms feels very smooth with a nice amount of tension. It’s important to note the reverse thrust levers are not on an axis, but rather picked up as a button when clicked into place. They do feel somewhat flimsy. I think you could break them if you are careless and put downward tension on them for some reason. They are plastic and about as thin as a popsicle stick. When not in use they are not locked in a single position and do have some give to them.

So far, we’ve covered the look, feel, and features, let’s see how they do in the simulator. I tested these units in Microsoft Flight Simulator, X-Plane 11, and Prepar3D v5.2. Each sim gave me a slightly different experience in functionality. Mainly due to each sims method for using certain controls. Overall, I had the least headache when setting them up in X-Plane 11 so I’ll start there. Each sim recognized the TCA yoke, and each throttle quadrant separately. X-Plane 11 was great because nothing was mapped when I started out. This might sound like the opposite of what you want, but there’s nothing worse when a sim guesses the mappings you want. This leads to many things often dual mapped and a real mess to clean up, especially when dealing with this many buttons across 3 units. Starting with the yoke I maped the roll, pitch, elevator trim, and landing gear. Next was the spoilers, throttle 1, and my personal choice of using the side button for TO/GA. The reverse thrust I mapped to “hold reverse thrust at max.” I also mapped the knob at the bottom to control the altitude bug. Next was the second quadrant, which I’m using for throttle 2, flaps, and the knob at the bottom for heading control. I later swapped the bugs around to be in sequence with the MCP.
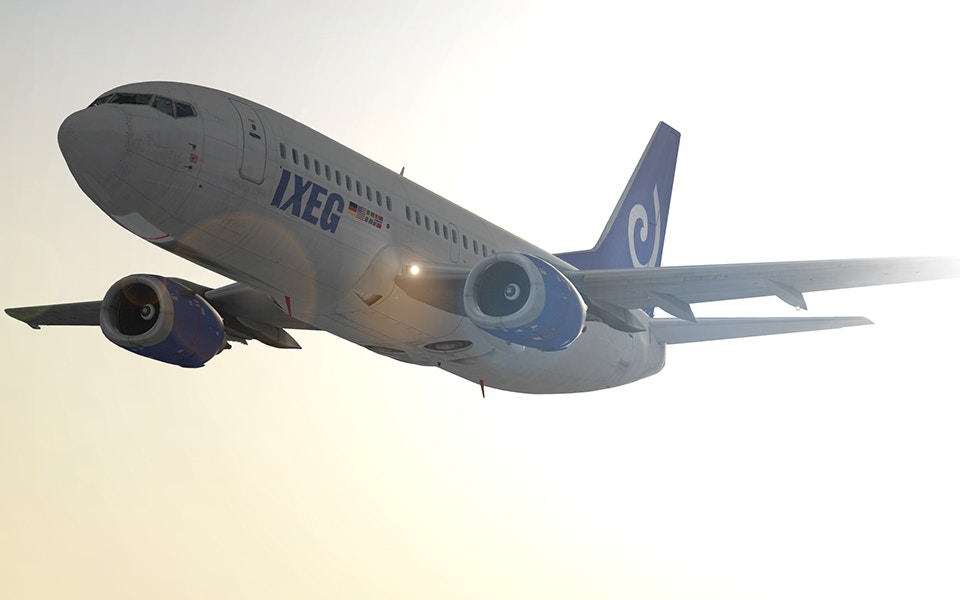
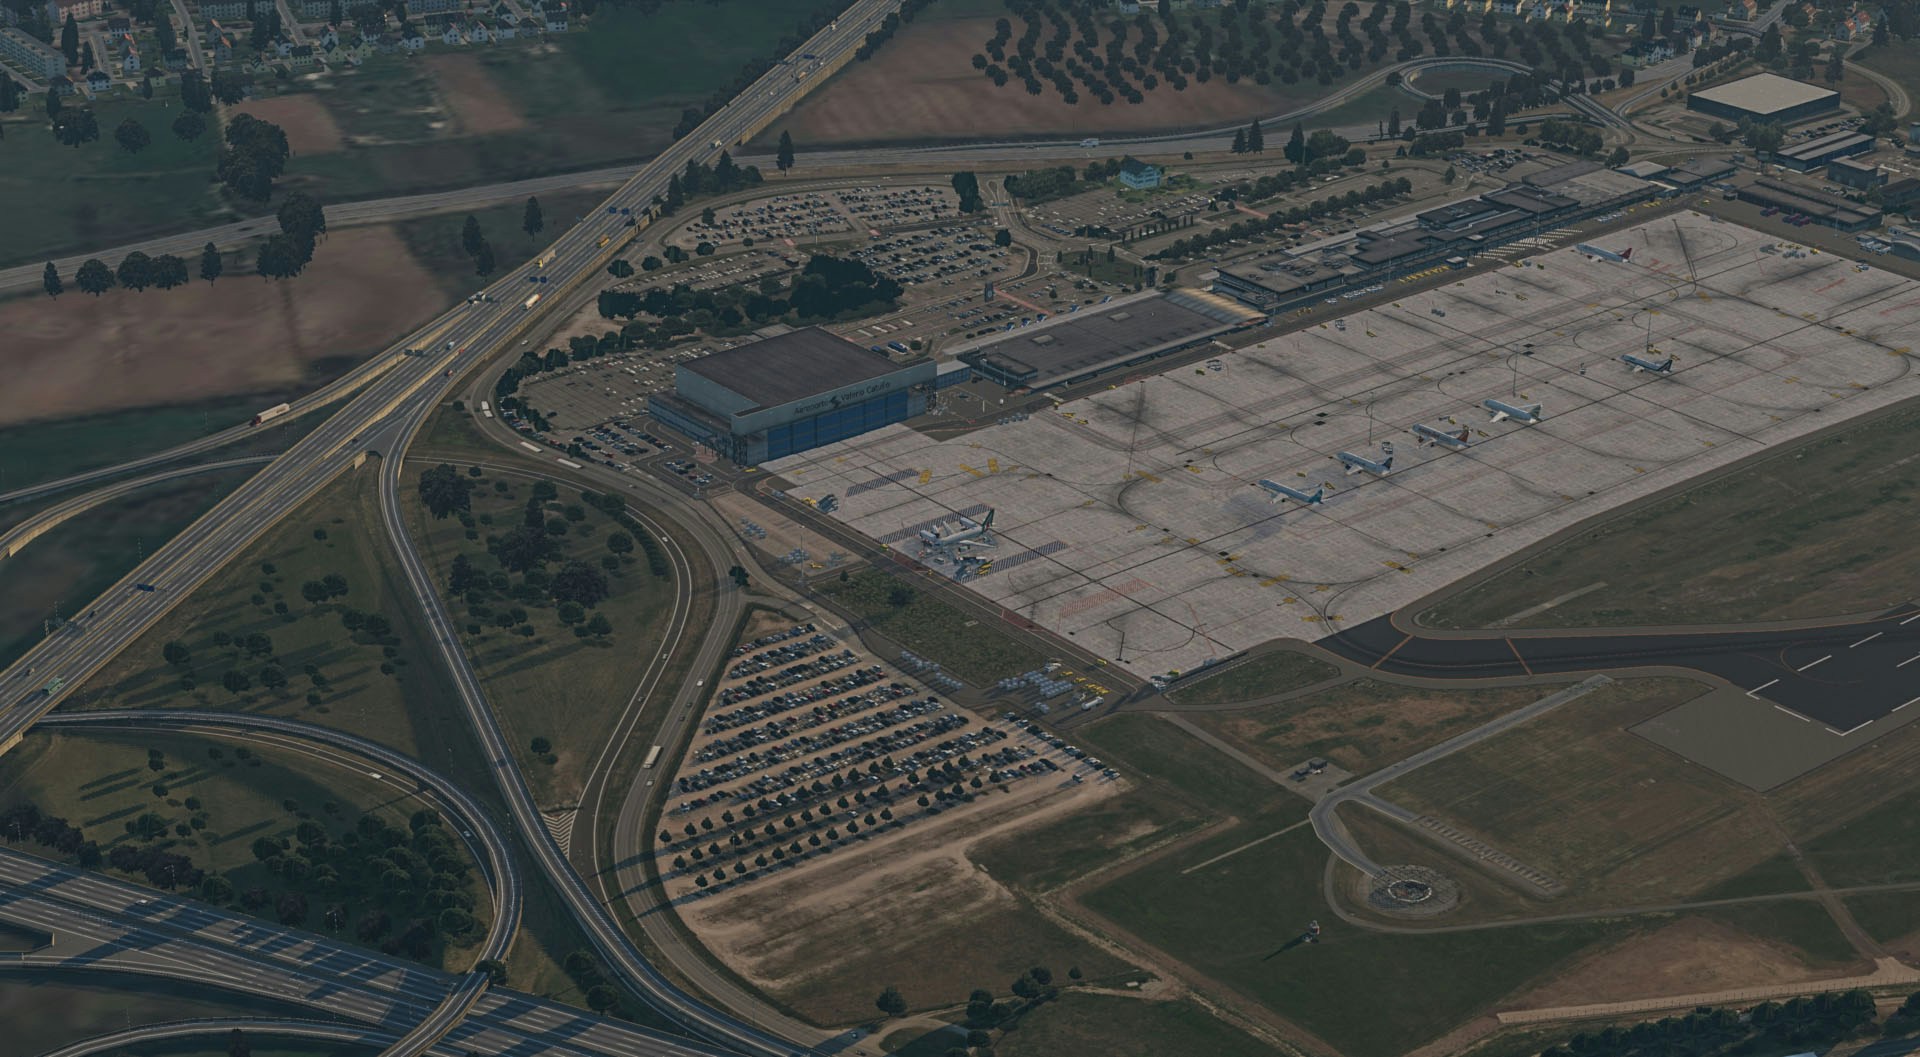
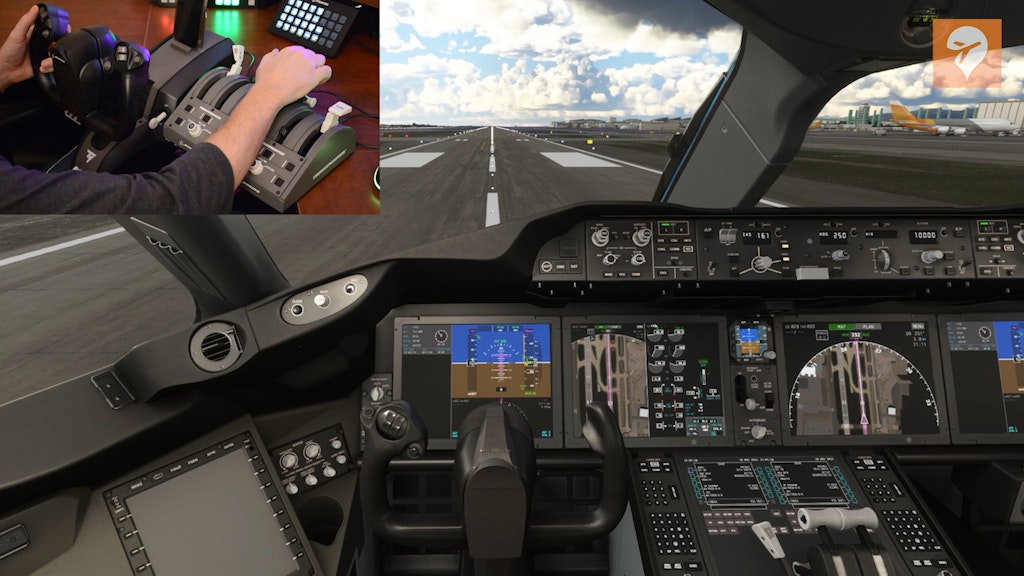
With the controls setup to my liking I loaded in at San Francisco International Airport, using the legendary Zibo Mod 737. Until we start seeing aircraft like the PMDG 737 on Microsoft Flight Simulator, this is going to be the best test to run using these controls. I entered the runway, set the throttle to 40% N1, engaged TO/GA and I was off. The first officer called out V1 and I gently began pulling back on the yoke. This felt as smooth as can be. Landing gear came up and I started to work with the trim, now beginning a turn to the right and leveling off at 3000ft. The heading and altitude knobs also worked as I vectored myself back to the ILS approach for runway 28R.
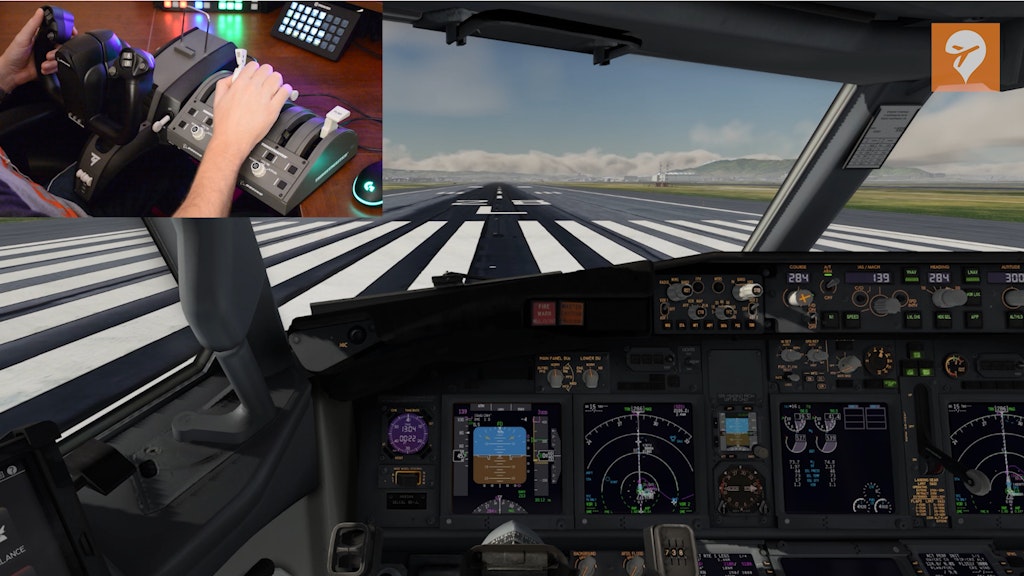

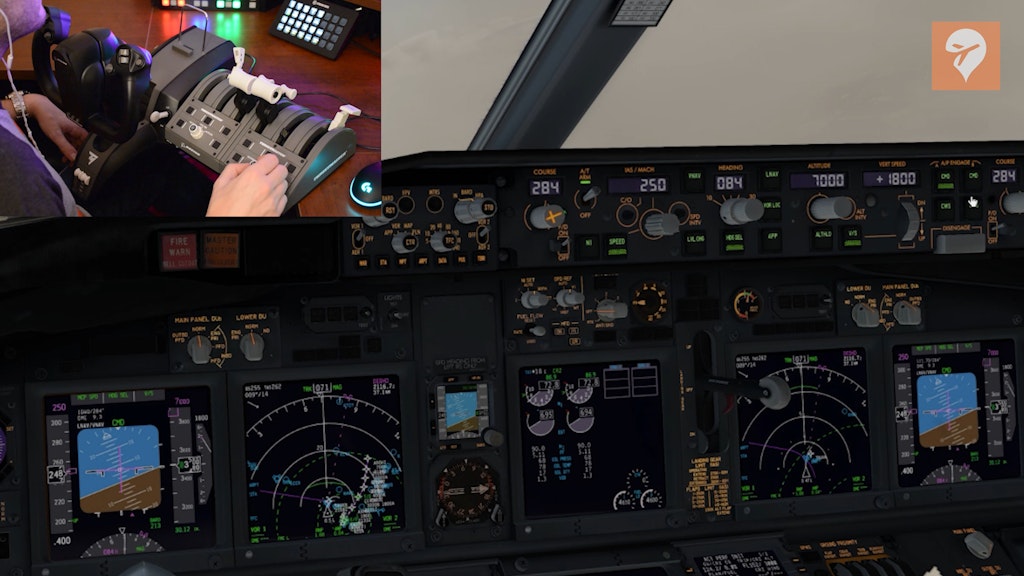
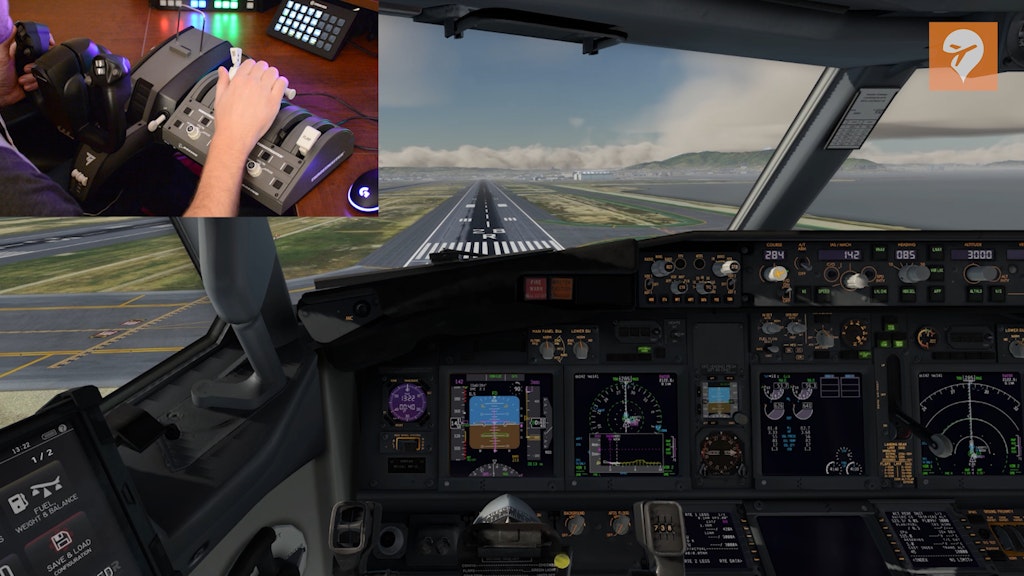
As I headed down the glide path, I had a chance to use some spoilers for drag. I started to put the flaps out on schedule and disengaging the A/P and A/T. With the yoke in one hand and the throttle in the other, the aircraft is nicely heading down the glide path under my control. For being my very first landing with these controls and not using a yoke for a couple of months, it felt like I had been using them for months. I thought they might have a learning curve, but I felt right at home with them. Crossing the runway threshold, 50, 40, 30, 20, I closed the throttle, and aiming for the center line, 10, holding the flare and BUTTER! I grabbed the reverse thrust, pulled it towards me and it began slowing the aircraft. I was pleased with how my first flight went. I can’t wait until I truly get used to them… if that’s even possible beyond the way they handled for me already.
Moving on to other sims I decided to give Prepar3D 5.2 a chance. I had to remove some dual mappings and reverse the spoilers and flaps but nothing too major. I tested the controls in the TFDI 717. Starting with the yoke, spoilers, flaps, and throttle, everything worked as intended. Where I started to run into issues was with the reverse thrust. Again, because this lever is actually a button, P3D doesn’t allow you to hold reverse thrust at max, at least not with the built in menu. Instead, they have a mapping called “Throttle (decrease quickly),” this activates the reverse thrust in increments. This means when pulling the reverse arms back, you only get idle reverse. It would take about 7 up and down pushes of this lever to get full reverse and that’s just not going to cut it. This is an issue I’ve had with P3D dating back to my use of the Logitech throttles. But you can map a reverse thrust axis. So I used the open arm to the left of the number one engine to do this. Not ideal, but it did work for what I needed. When it comes to using the knobs for heading and altitude I could not get them to work when mapping “Autopilot Altitude bug (decrement)” and (increment). Very possible the button mapping program FSUIPC can fix this , but when using the core P3D button mapping interface, I could not figure it out.

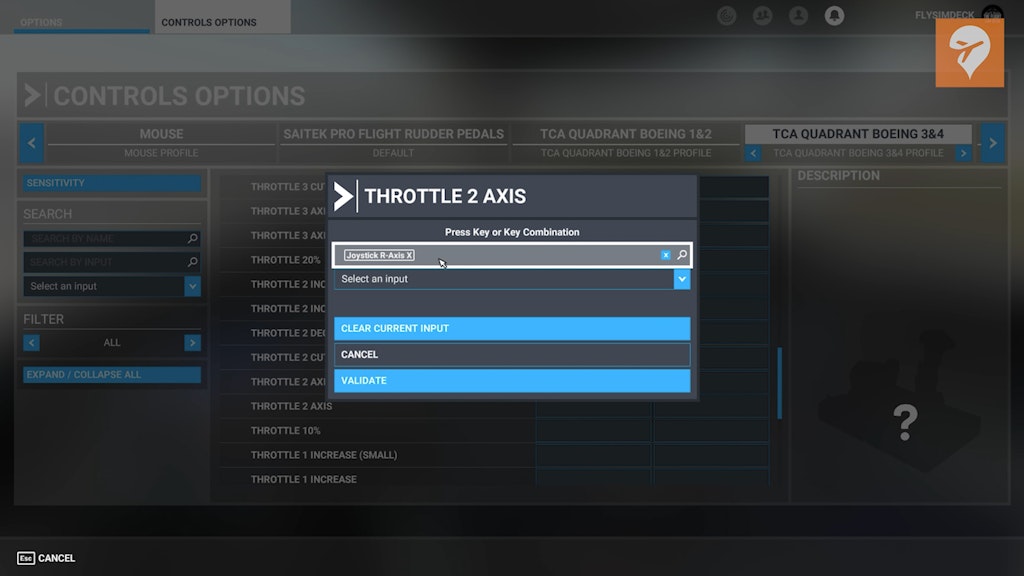
My experience with Microsoft Flight Simulator wasn’t exactly plug and play. I figured since this product was inspired by this sim it would be a little more ready to go. I still needed to reverse some axes, and remove conflicting axes I didn’t want. Again, I ran into trouble with the reverse thrust. X-Plane was the only sim where this worked right away. In Microsoft Flight Simulator you have two options for this command. “Hold Throttle Reverse Thrust” and “Toggle Throttle Reverse Thrust”. “Hold Throttle Reverse Thrust” is supposed to hold the reverse thrust at max but I could not get the reverse to budge, no matter which throttle or button I mapped it to. “Toggle Throttle Reverse Thrust” toggles the reverse thrust on, and allows your normal throttle inputs to control the in-sim reverse levers. I got this to partially work most of the time. Sometimes one throttle would activate, and sometimes both. Either way it was buggy. The throttles click and snap up and down very fast as if something is forcing them in the other direction. I triple checked to make sure I didn’t have any conflicting mappings across the 3 units, including my rudder pedals. Now obviously this is more of a Microsoft Flight Simulator problem, rather than a Thrustmaster problem. It did, after all, work fine in X-Plane 11. This is also a symptom of not being able to use an axis to control these arms. I just thought this setup would have worked a little more flawlessly considering it’s designed with Microsoft Flight Simulator in mind. Also remember i’m testing this on the PC version. It’s possible the Xbox might handle things differently. This is also something that may not be an issue anymore by the time you hear it from me.
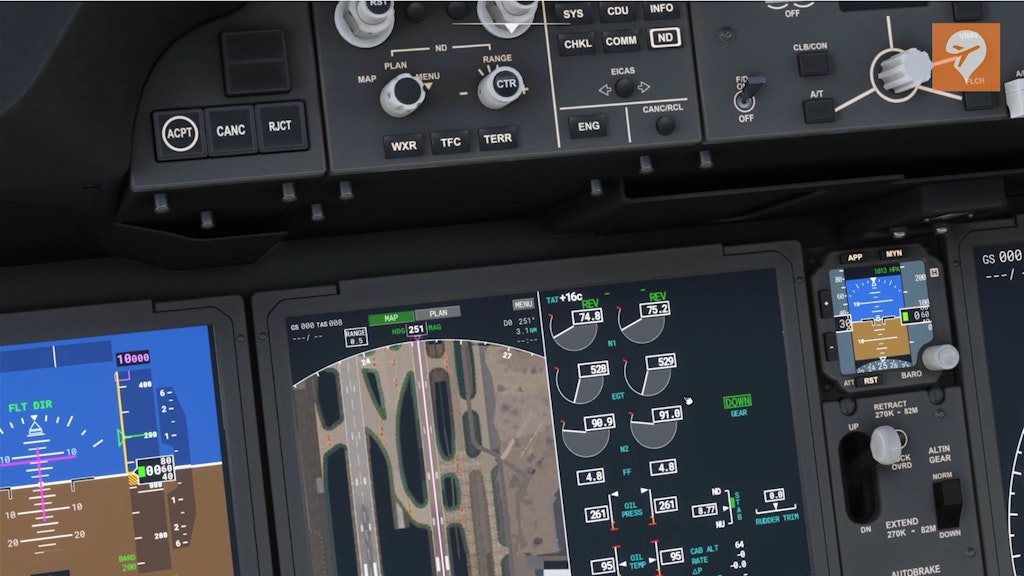
With all of the controls sorted at best, I took the 787 for a short flight. This aircraft is still incomplete and has its quirks. But as I said, when PMDG arrives, it will be a real treat to pair this set with. This time without the use of TO/GA I got to experience the full range on the throttle as I added power, it’s a nice range to have. Rotation felt great, the gear lever functioned as did the flaps and trim. This is the first flight where I got to try the mini stick on the right side of the yoke. I have to say I really like having it there. It’s much nicer than the traditional hat switch look, which forces a hard turn to the left, or right. With the stick I could slowly control my view all around the cockpit.
Everything i’ve shown you today, the TCA yoke pack and additional throttle totals $650 before taxes, and $697 after taxes when living in California. After getting to use this yoke with my favorite sims I’d be lying if I said I didn’t love using it. I liked it so much, I’m considering setting it up as my primary yoke for airliner flying. I didn’t think I would feel this way about it going into this review.
The throttle is nice for what it is. I liked the size of the handles and it was very comfortable to use, but it wasn’t really anything special in my opinion. Especially as a single unit. It really needed that 4th axis, along with the reverse thrust arms to impress me further. Also, not having the throttle lowers the cost a little. The standalone yoke will be available for preorder in February 2022. Thurstmaster is listing it with a suggested retail price of $400. The worth and value all depend on what you’re looking for. This is the only yoke on the consumer market that moves like an airliner yoke, with some pretty good sensors too. Without the throttle, you still have everything you need at a minimum. You can map the trim on the left, flaps on the right, and you have an axis for the throttle, spoilers, or flaps. With all of that, you still have the landing gear lever and many buttons left over to map.
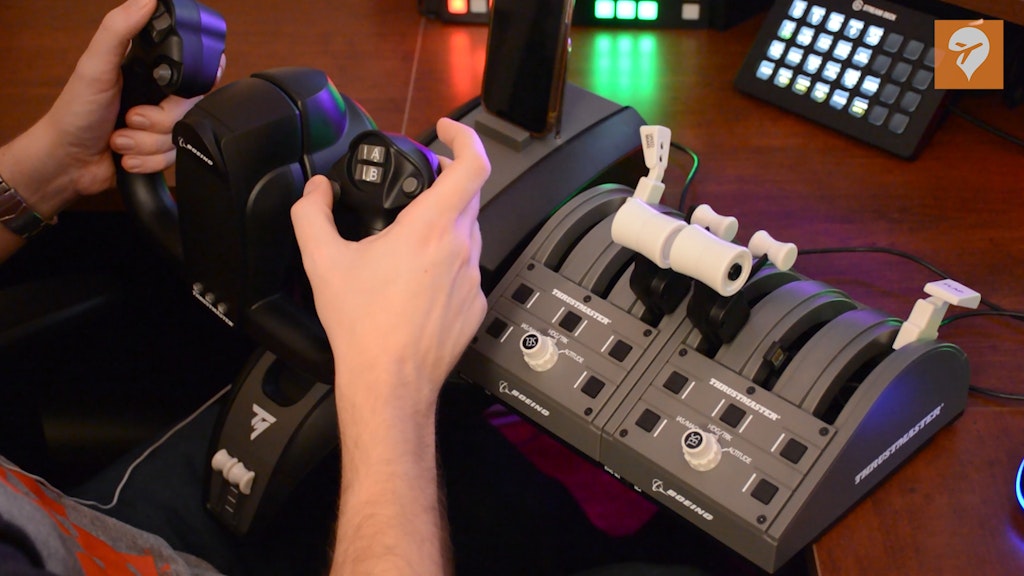
But If you really need a throttle, or you’re a collector of Boeing memorabilia, you will enjoy having this quadrant too. My biggest takeaway from this review is that the yoke really is awesome! The feel of the Pendul_R™ system, adjustable springs for the tension, a mini control stick for the camera, and a headphone jack, were all new features I didn’t know I wanted until I had them in front of me. This reminded me of a great Steve Jobs quote, “Some people say, “Give the customer what they want.” But that’s not my approach. Our job is to figure out what they’re going to want before they do.” I truly look forward to using this setup for the coming years. Now, if you’ll excuse me, I have some flying to do…


